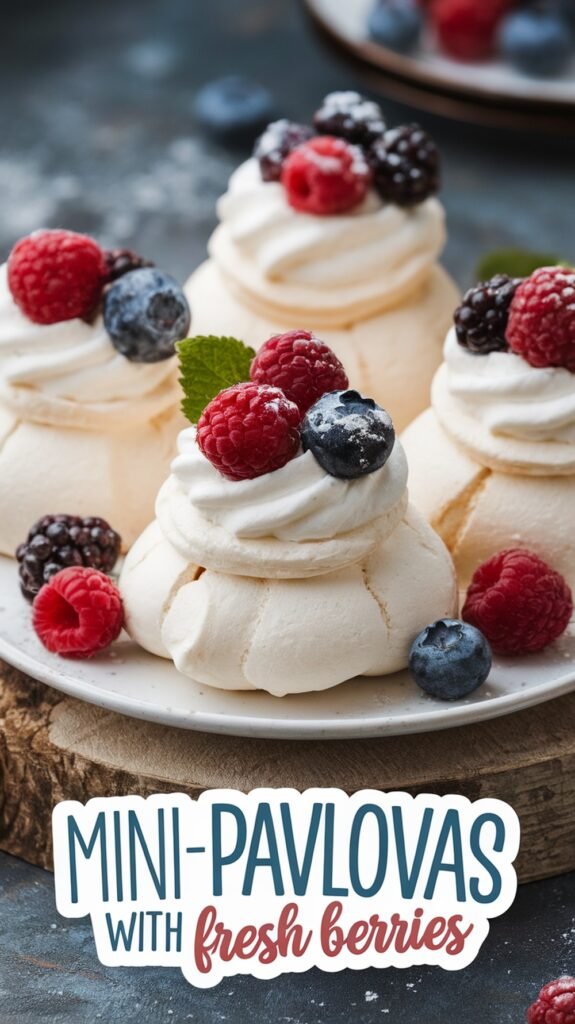
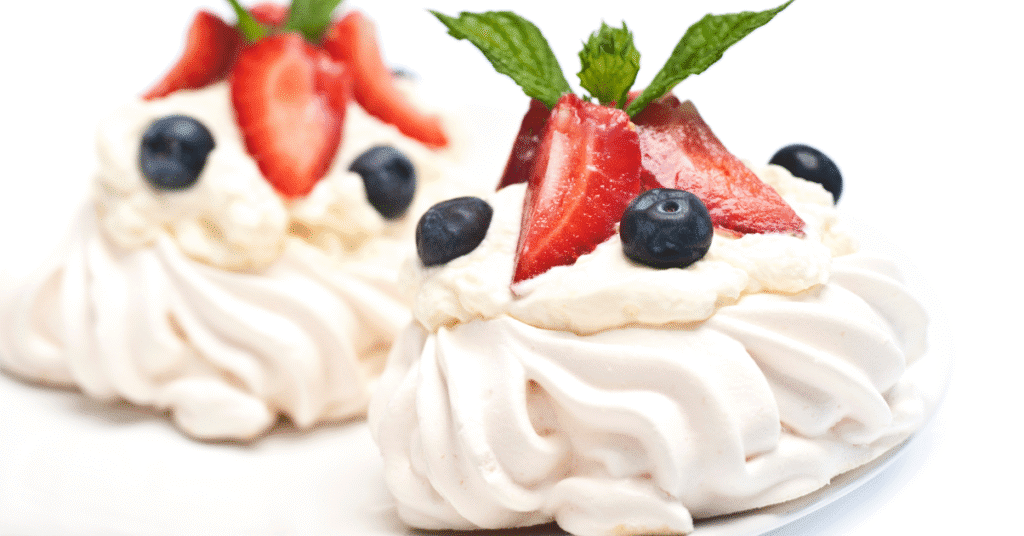
If you’ve never made mini pavlovas before, you’re in for a sweet surprise. These delicate, airy desserts combine a crisp meringue shell with a soft, marshmallow-like center. Topped with fresh berries and cream, they’re as elegant as they are irresistible—and easier than you’d expect.
These mini pavlovas are always a showstopper—crisp, elegant, and bursting with fresh flavor. Whether you’re planning a springtime treat or a festive dessert for a special occasion, their stunning presentation and light texture are sure to impress your guests.
Why You’ll Love These Mini Pavlovas
Before we dive into the details, let’s talk about what makes this recipe a favorite in many kitchens.
- Naturally gluten-free – A great option for guests with dietary restrictions.
- Make-ahead friendly – Prepare the meringue in advance and assemble it just before serving.
- Customizable toppings – Fresh berries, whipped cream, even a drizzle of chocolate or lemon curd.
- Elegant presentation – Perfect for holidays, showers, and garden parties.
- Beginner-friendly – With just a few simple ingredients, you can create a bakery-worthy dessert.
Now that you’re tempted, let’s explore the ingredients you’ll need.
Mini Pavlova Ingredients


Here’s a closer look at what goes into this sweet treat. Keep in mind that quality matters.
Meringue Base (No Measurements Here)
- Cornstarch – This is key to achieving that soft marshmallowy center.
- Cream of tartar – Helps stabilize the egg whites and maintain structure.
- Egg whites – Room temperature whites whip better and create more volume.
- Sugar (white/granulated) – Sweetens and strengthens the meringue.
Toppings
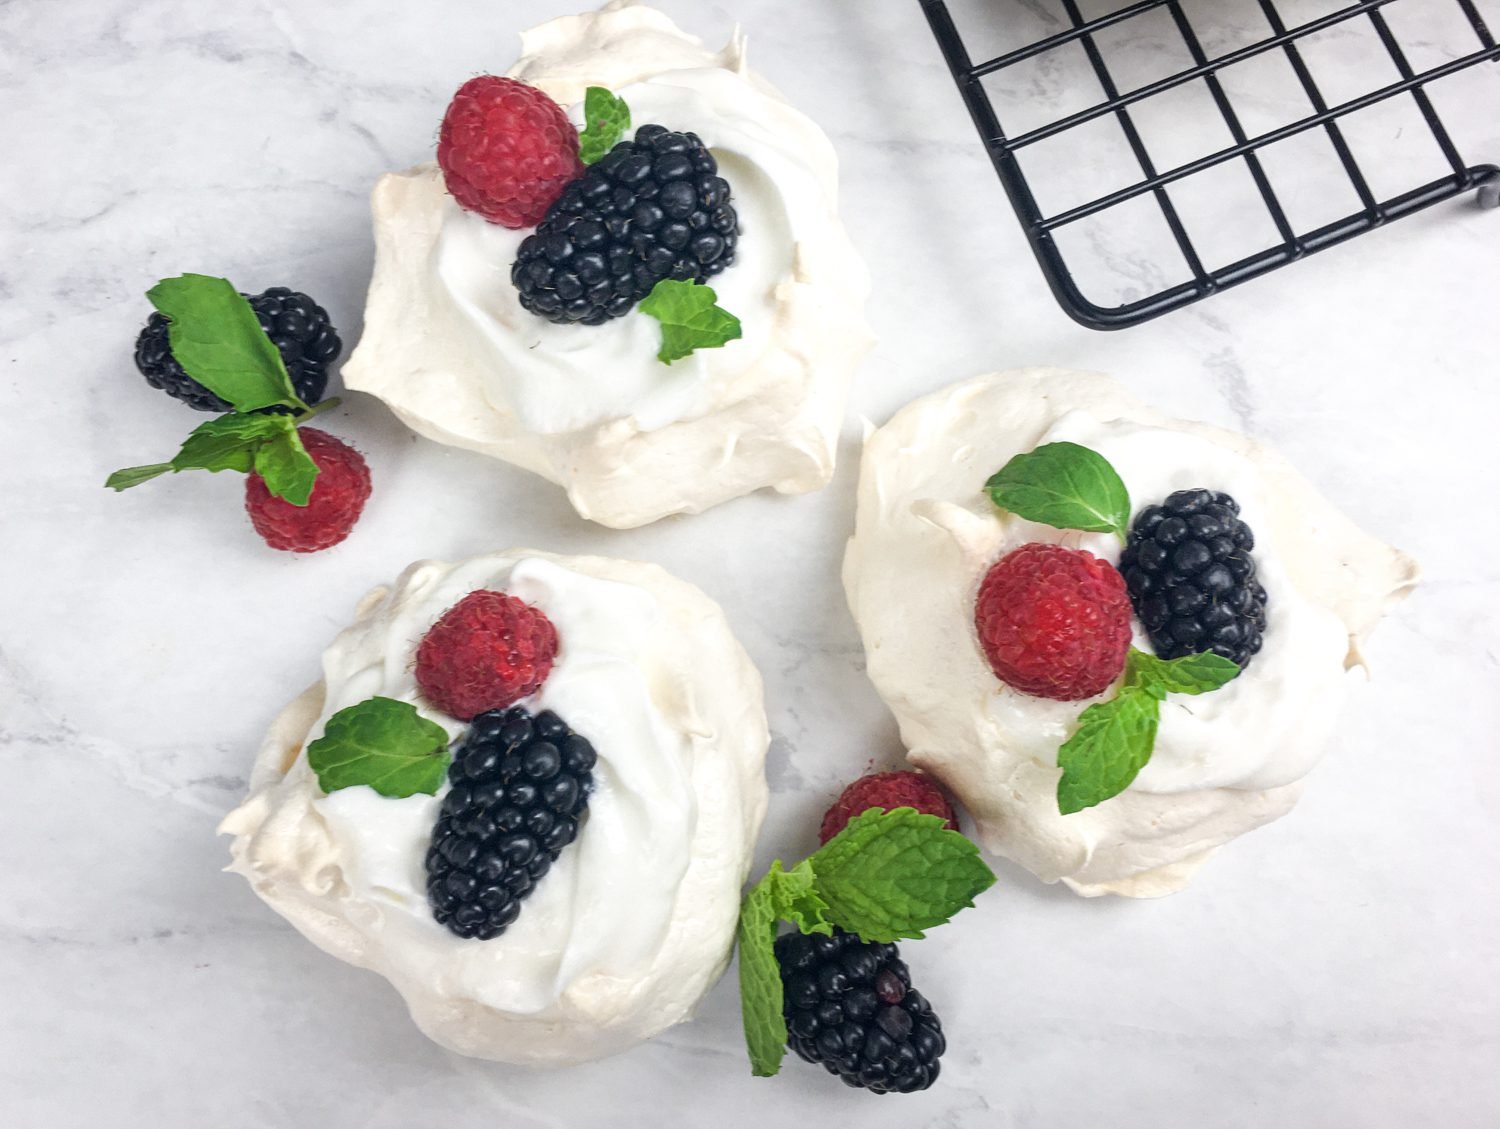
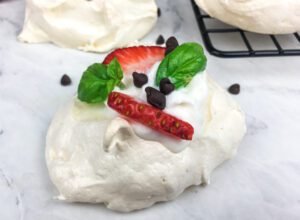
- Fresh basil or mint – For a touch of color and aroma.
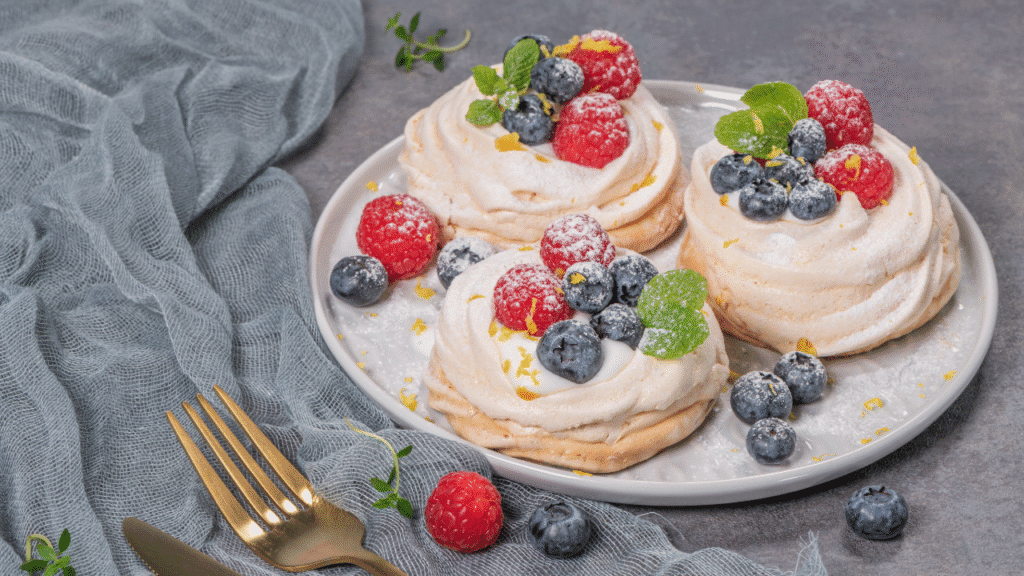
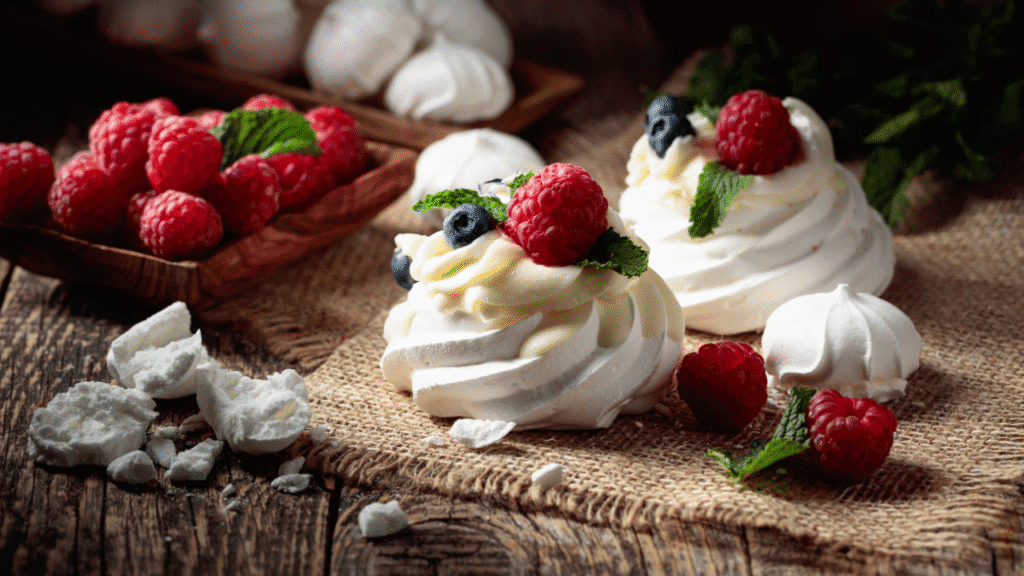
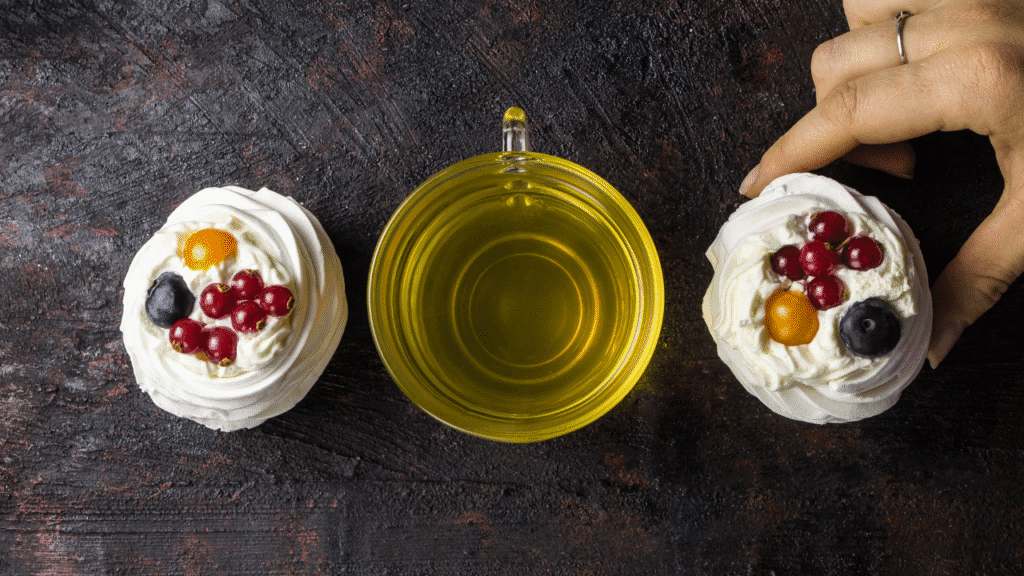
- Fresh berries – Blackberries, raspberries, strawberries—use what’s in season.
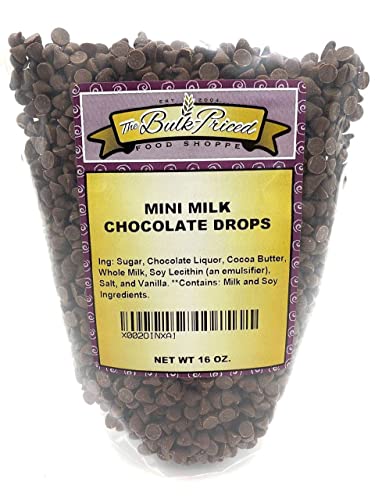
- Mini chocolate chips (optional) – A hint of chocolate pairs beautifully with berries.
- Whipped cream – Light, creamy, and perfectly balances the crisp shell.
Ingredient Tips & Swaps
- Egg Whites: Separate the cold egg whites, then let them sit at room temperature for 30 minutes.
- Cornstarch: It can be substituted with arrowroot powder if needed.
- Cream of Tartar: No cream of tartar? Use a few drops of lemon juice.
- Berries: Choose firm, fresh berries. Avoid frozen—they can make the meringue soggy.
Essential Tools for Mini Pavlovas


This recipe doesn’t require fancy gadgets, but the right tools make it easier.
- Baking sheets (rimmed) – Helps prevent spillage and ensures even baking.
- Hand mixer or Stand mixer – Crucial for getting those glossy, stiff peaks.
- Large mixing bowl – Use glass or metal for the best meringue results.
- Parchment paper or Silpat – Prevents sticking and makes cleanup a breeze.
- Spoon or Piping bag – Use to shape the pavlovas into uniform nests.
- Rubber spatula – Perfect for gently folding and scraping.
Tool Tips
- Cold metal mixing bowls help speed up the whipping process.
- Don’t have a piping bag? A Ziploc bag with a snipped corner works just fine.
Now that your tools and ingredients are ready, let’s bake!
Step-by-Step: How to Make Mini Pavlovas
Follow these simple steps for light, crisp, and stunning pavlovas.
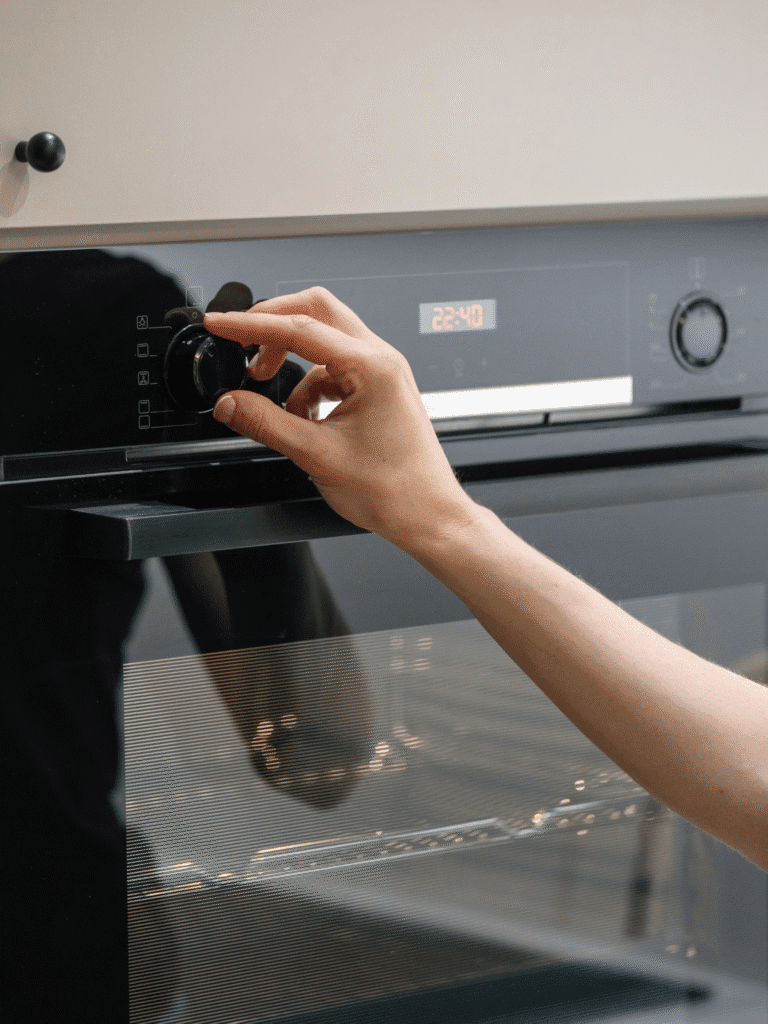
Step 1: Preheat and Prepare
- Preheat your oven to 300°F (150°C).
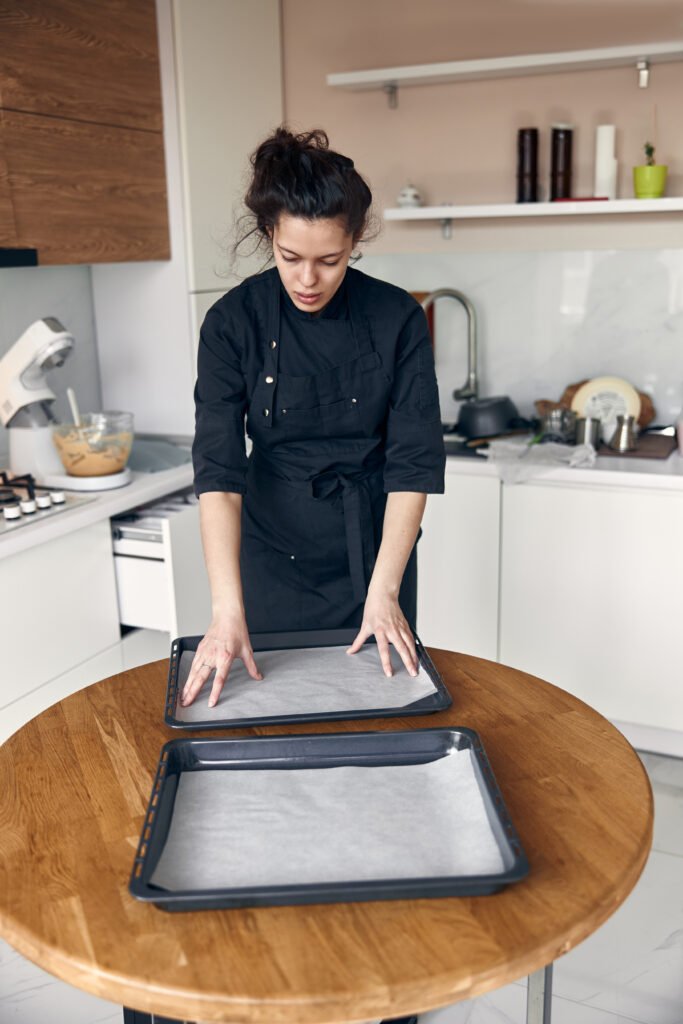
- Line two rimmed baking sheets with parchment paper or Silpat.
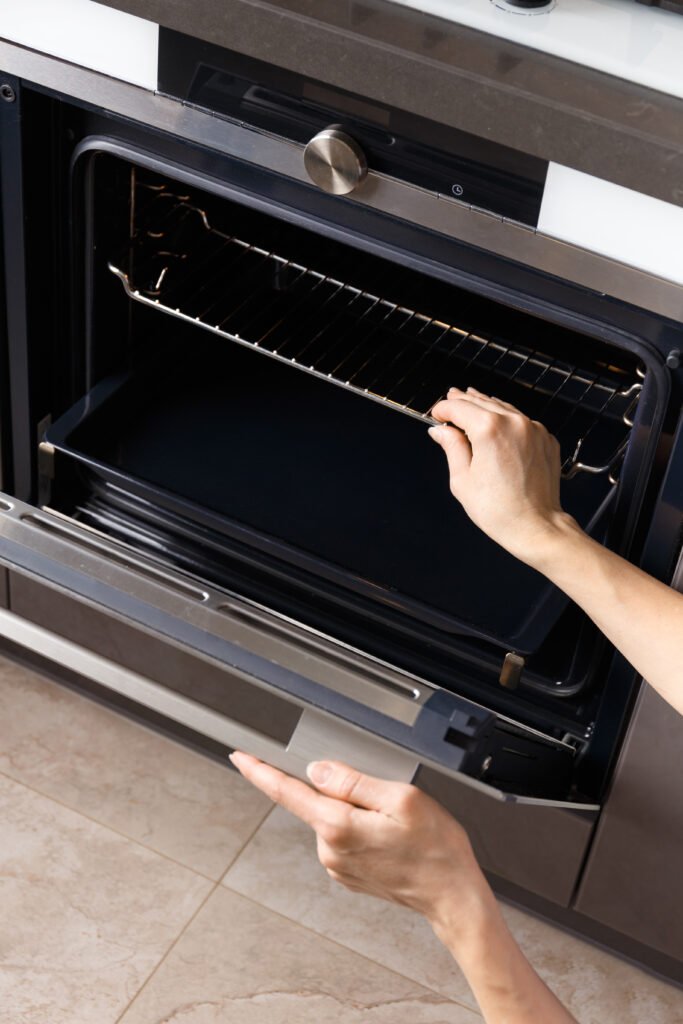
- Position oven racks in the center of the oven, evenly spaced.
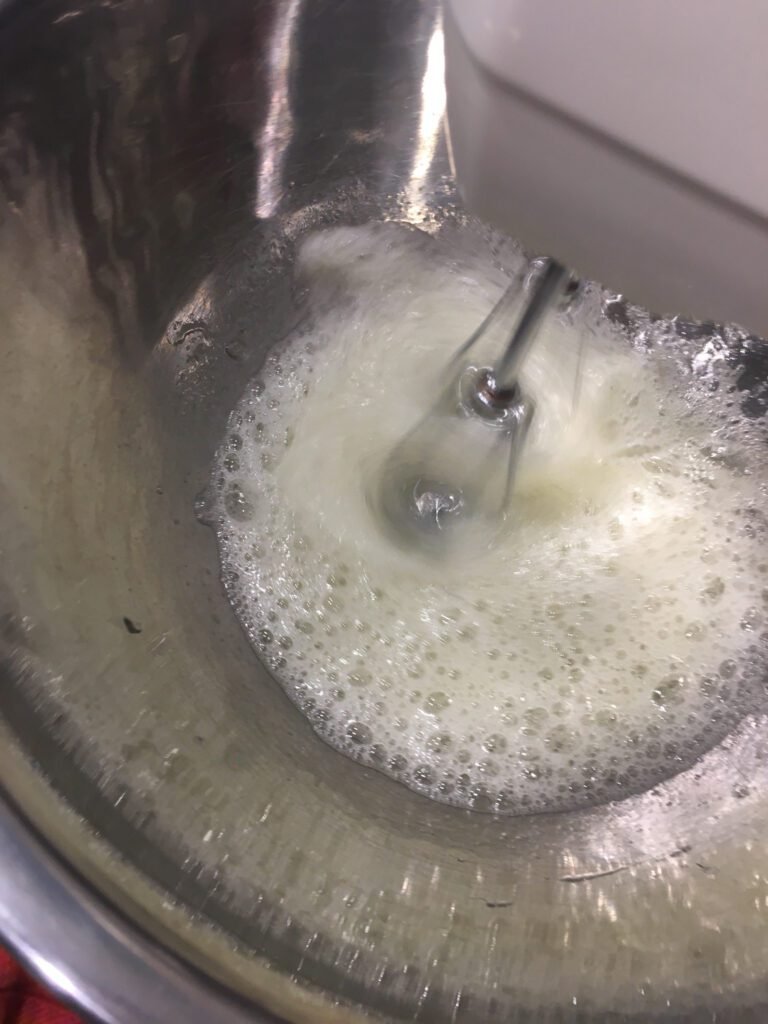
Step 2: Beat the Egg Whites
- Add egg whites to a clean mixing bowl.
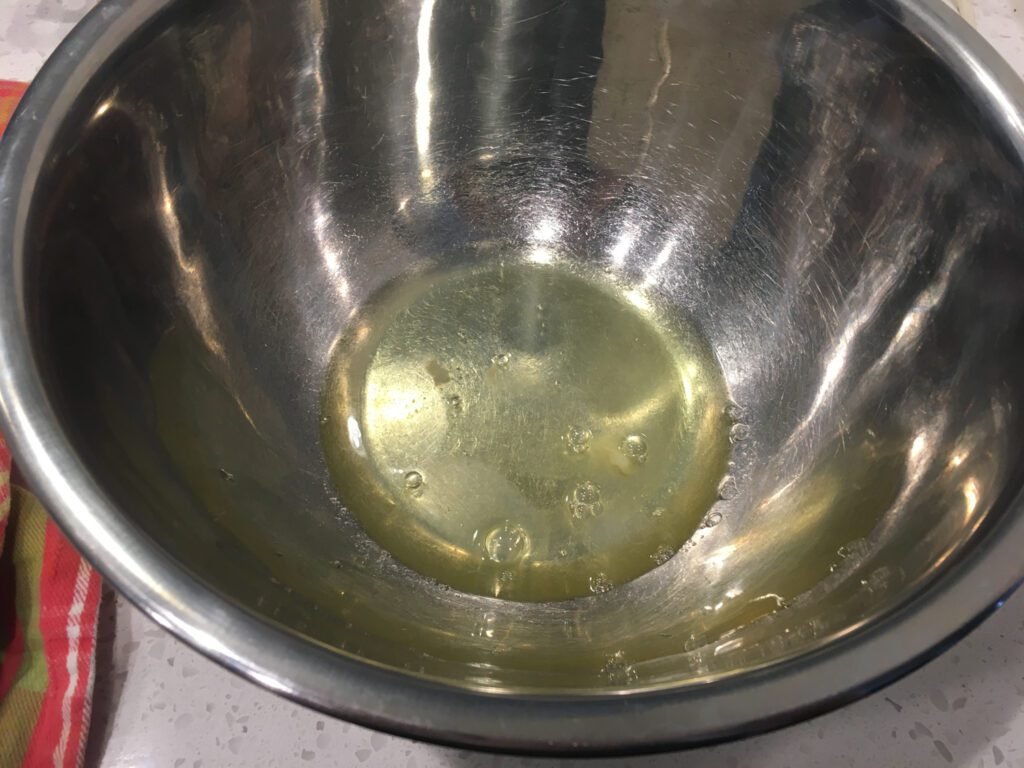
- Using a mixer, beat until soft peaks form (about 3–5 minutes).
Pro Tip: Make sure your bowl is completely clean and grease-free.
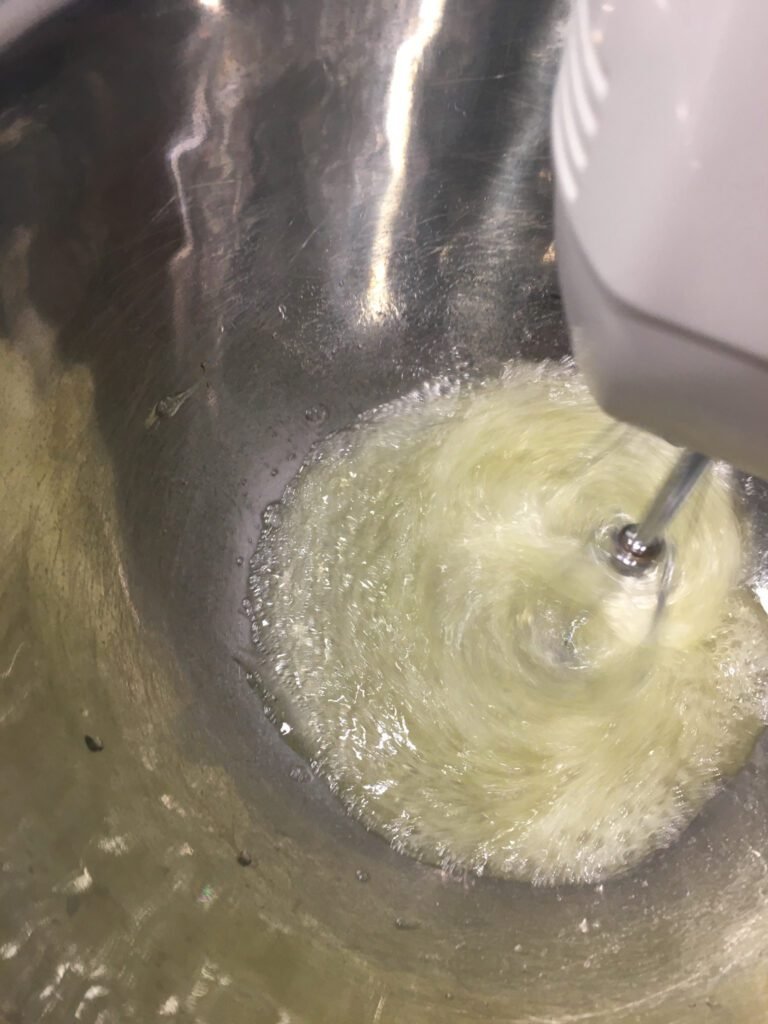
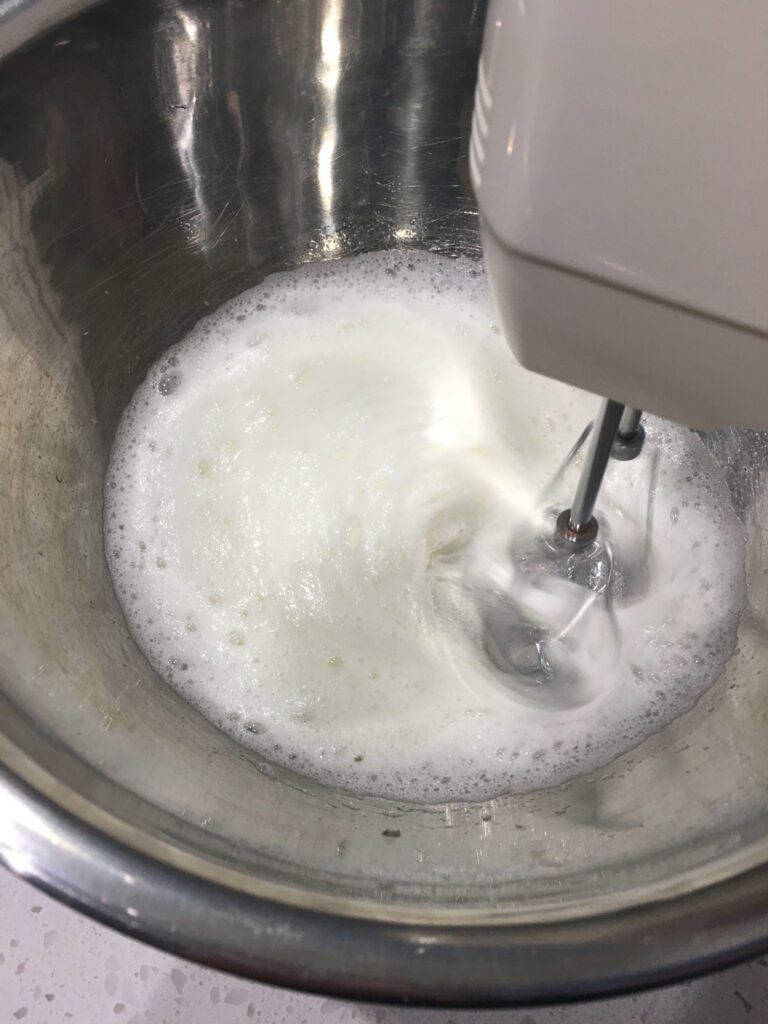
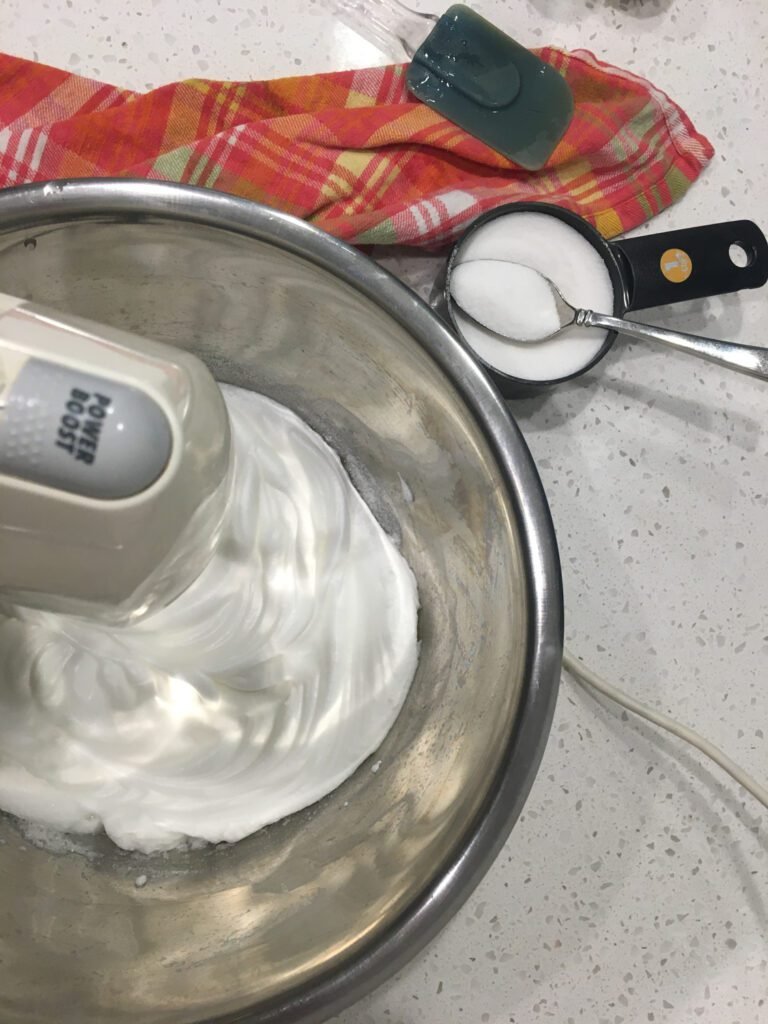
Step 3: Add Sugar Gradually
- While mixing, add sugar 1–2 tablespoons at a time.
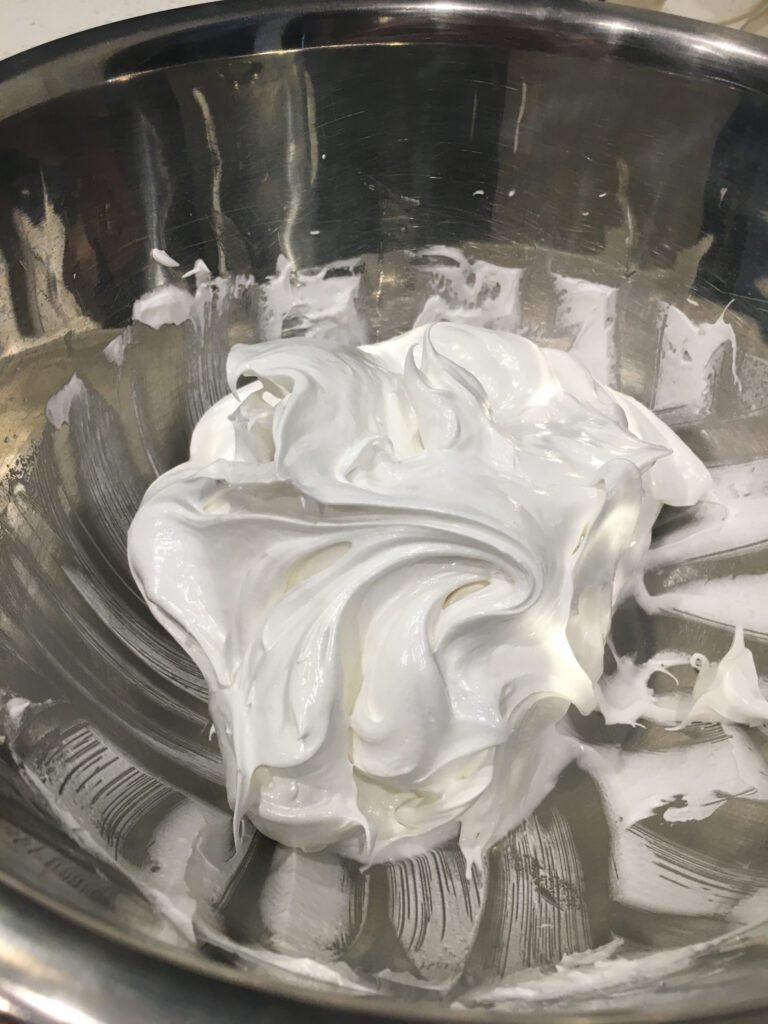
- Beat until the mixture is stiff and glossy (about 6–8 minutes).
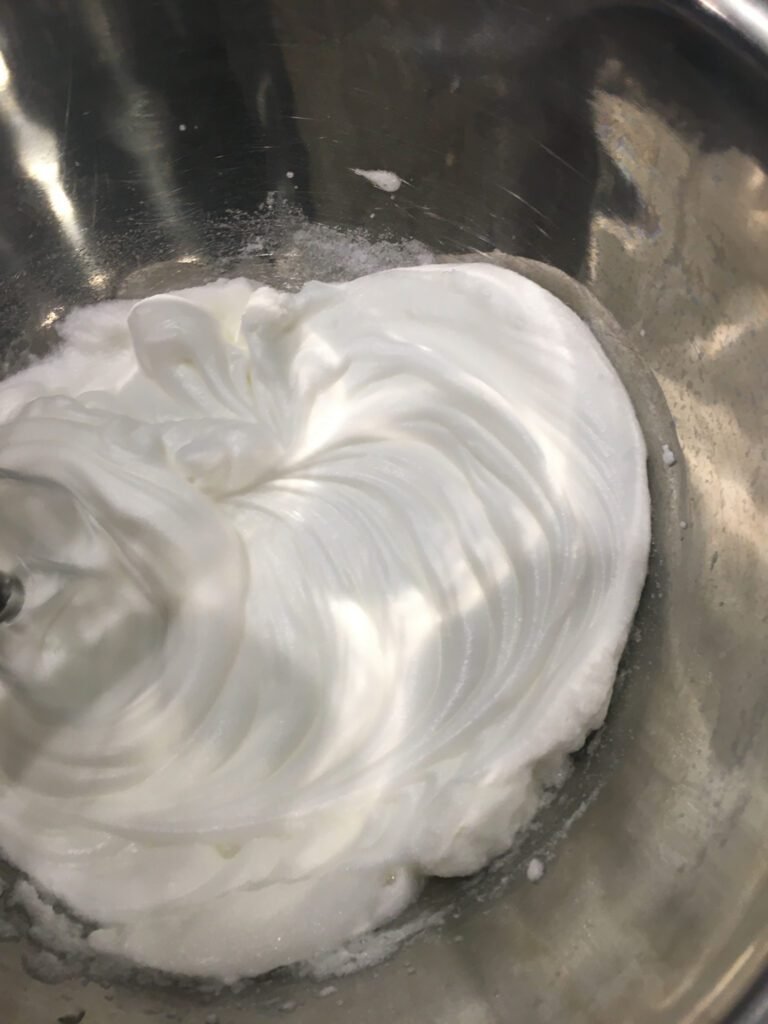
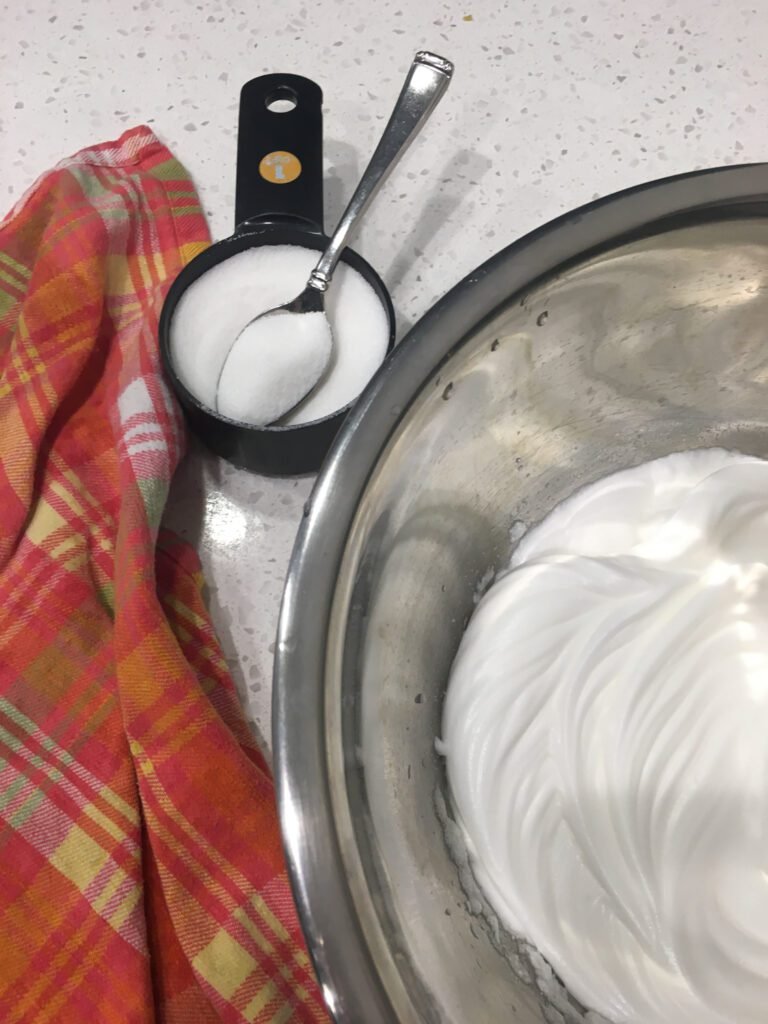
Step 4: Add Cream of Tartar and Corn Starch
- Add in cream of tartar and cornstarch.
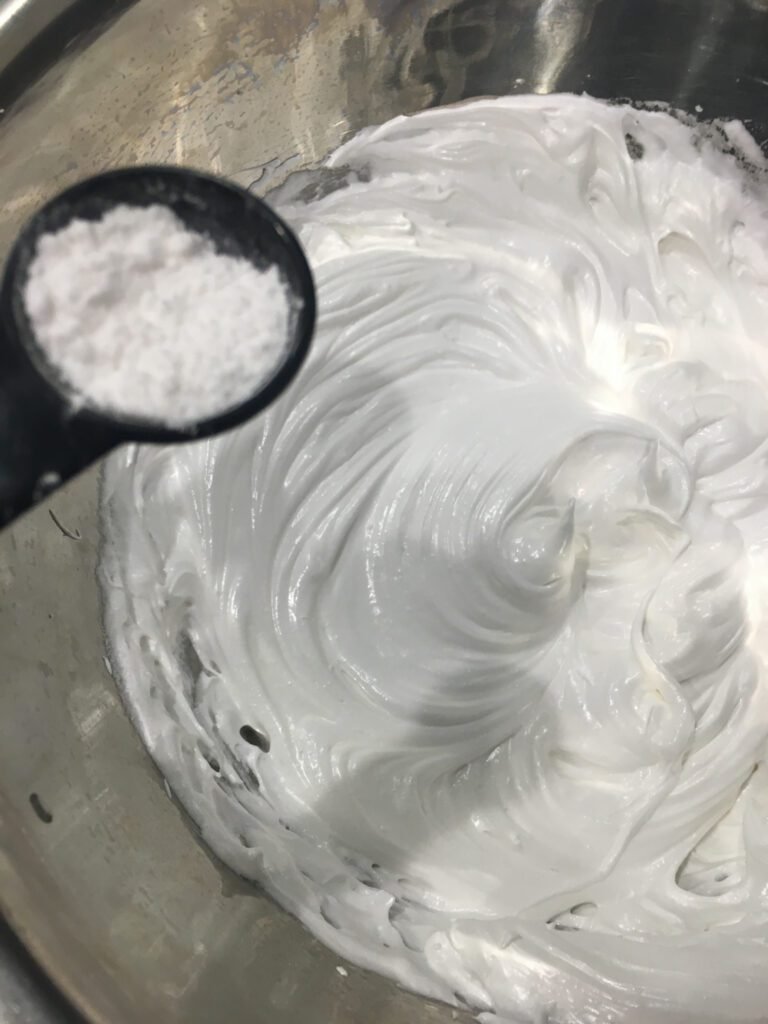
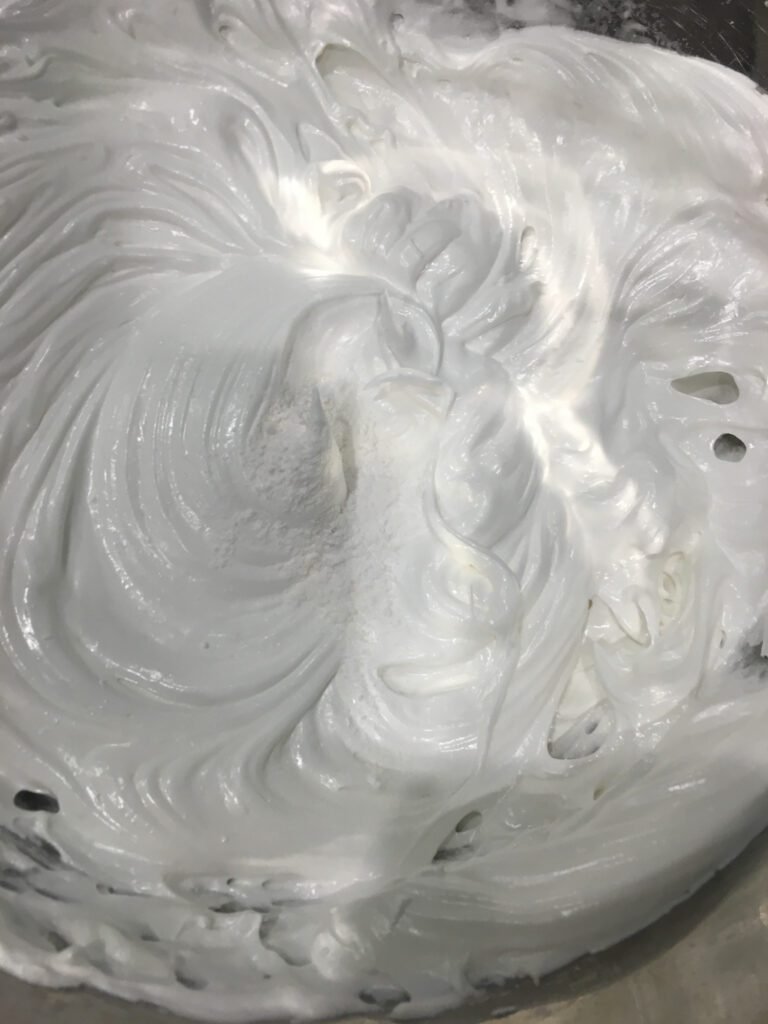
- Beat until fully combined (about 1 minute).
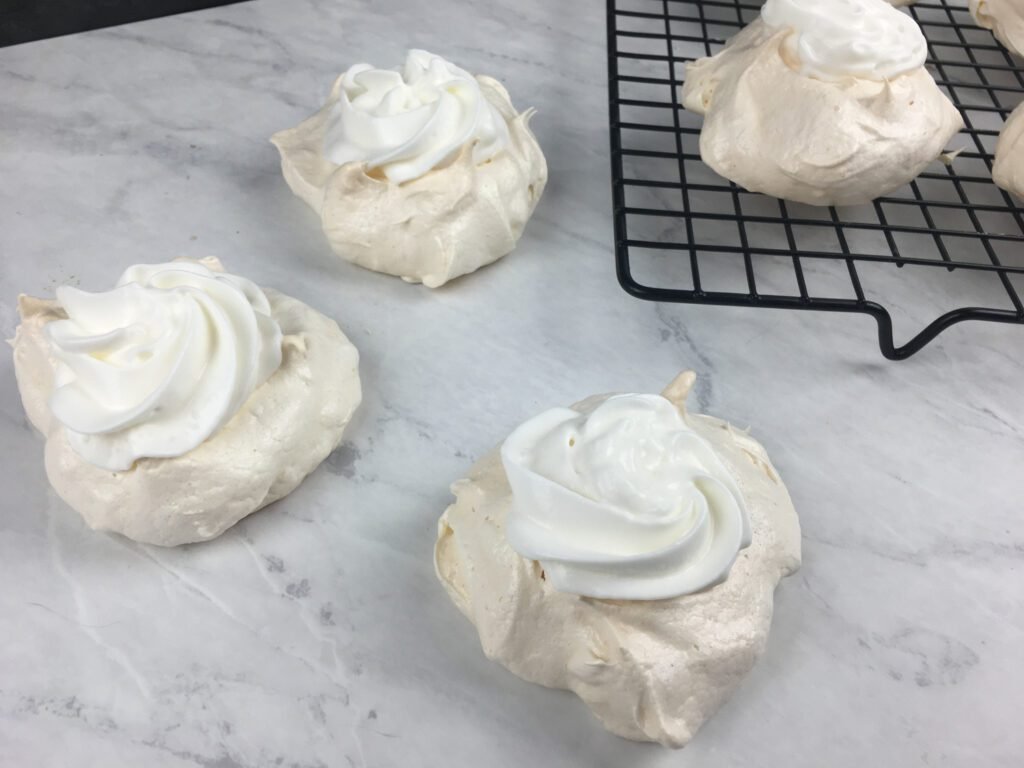
Step 5: Shape the Meringue
- Spoon or pipe 15 equal mounds onto the baking sheets.
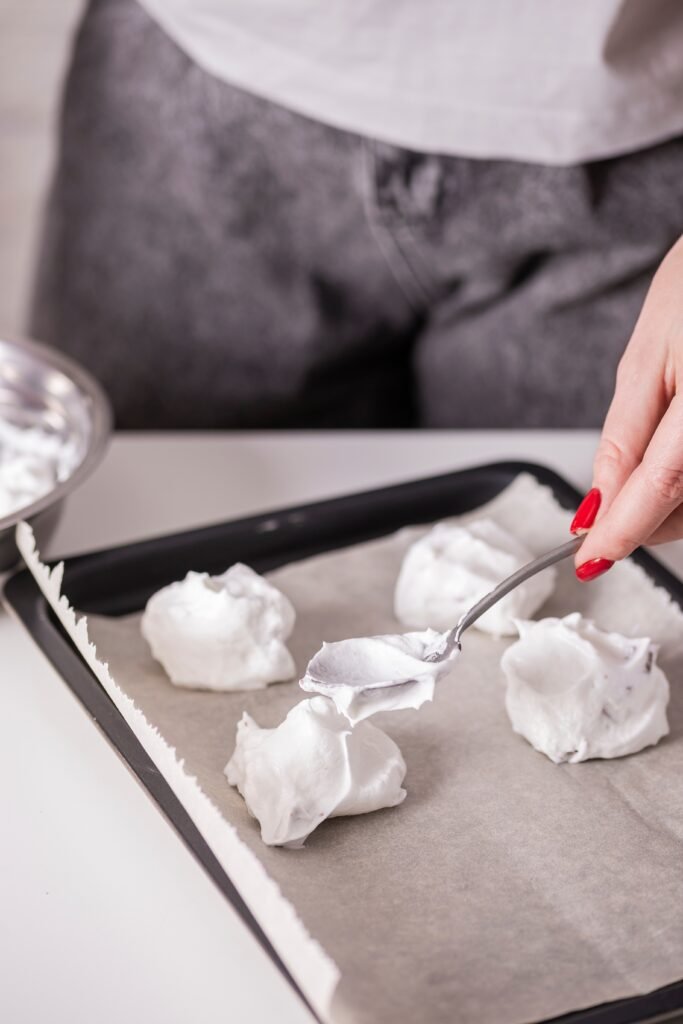
- Use the back of a spoon to create a slight indent in each mound.
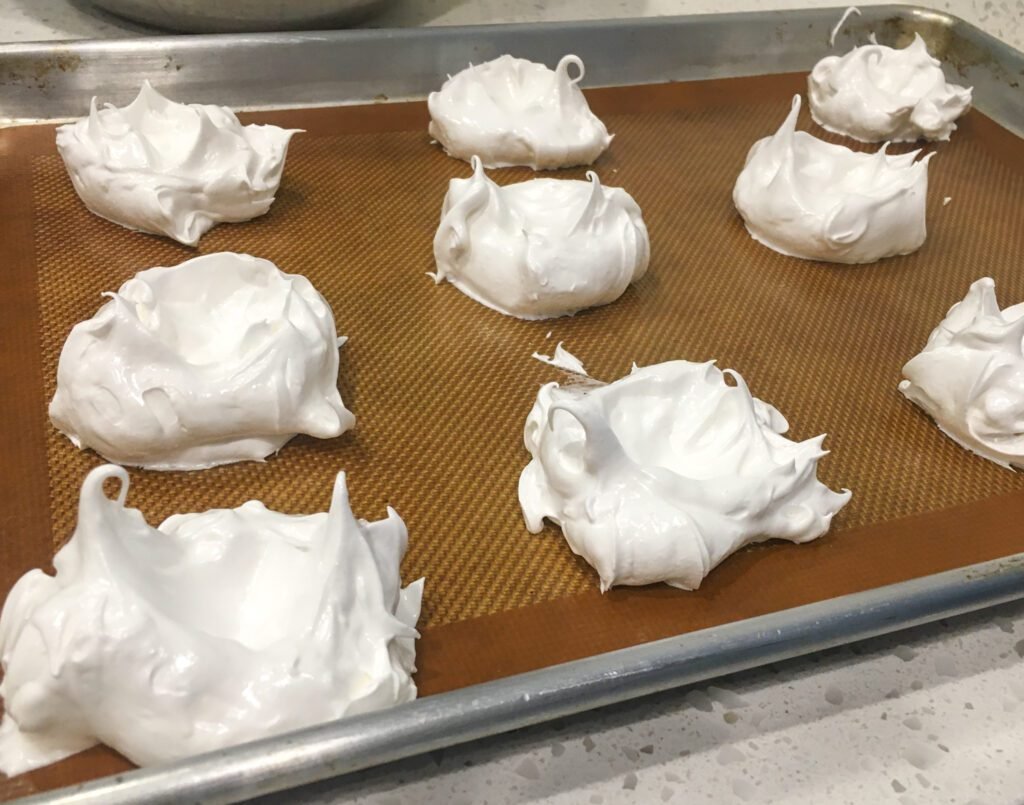
Pro Tip: The indent helps hold your toppings after baking.
Step 6: Bake the Pavlovas
- Bake at 300°F for 10 minutes.

- Lower the temperature to 225°F, and bake an additional 45 minutes.
- Turn off the oven and let the pavlovas rest inside for 1 hour.
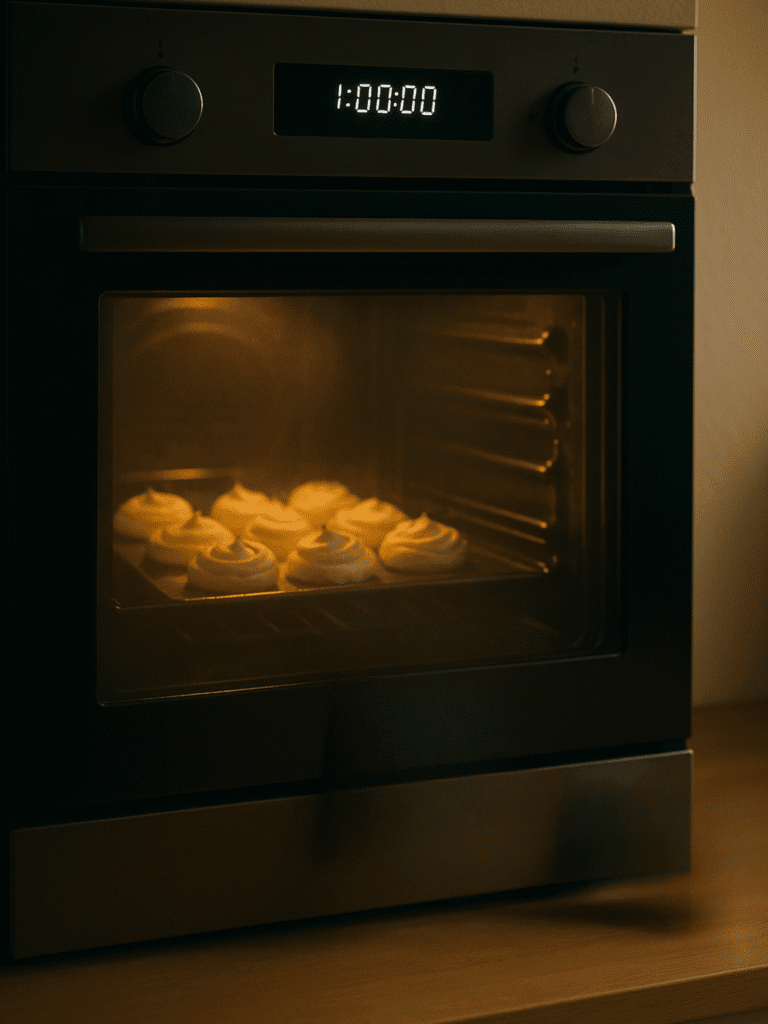
Pro Tip: Do not open the oven door during the resting period—this prevents cracks from forming.
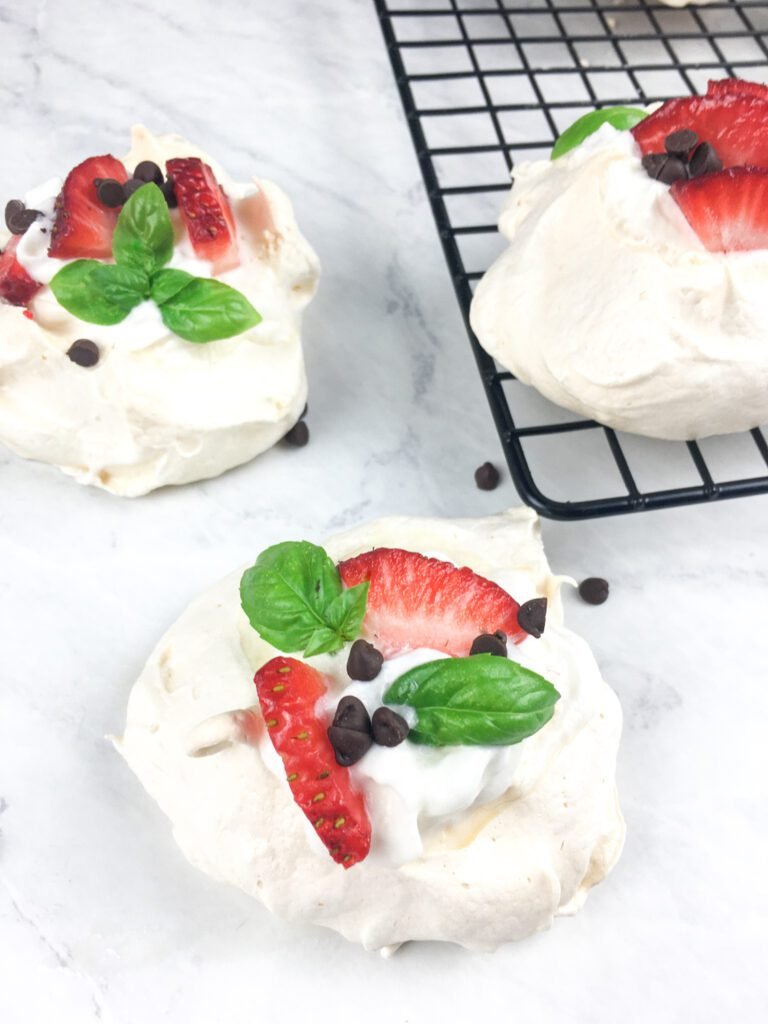
Step 7: Top and Serve
- After one hour, remove the sheet from the oven.
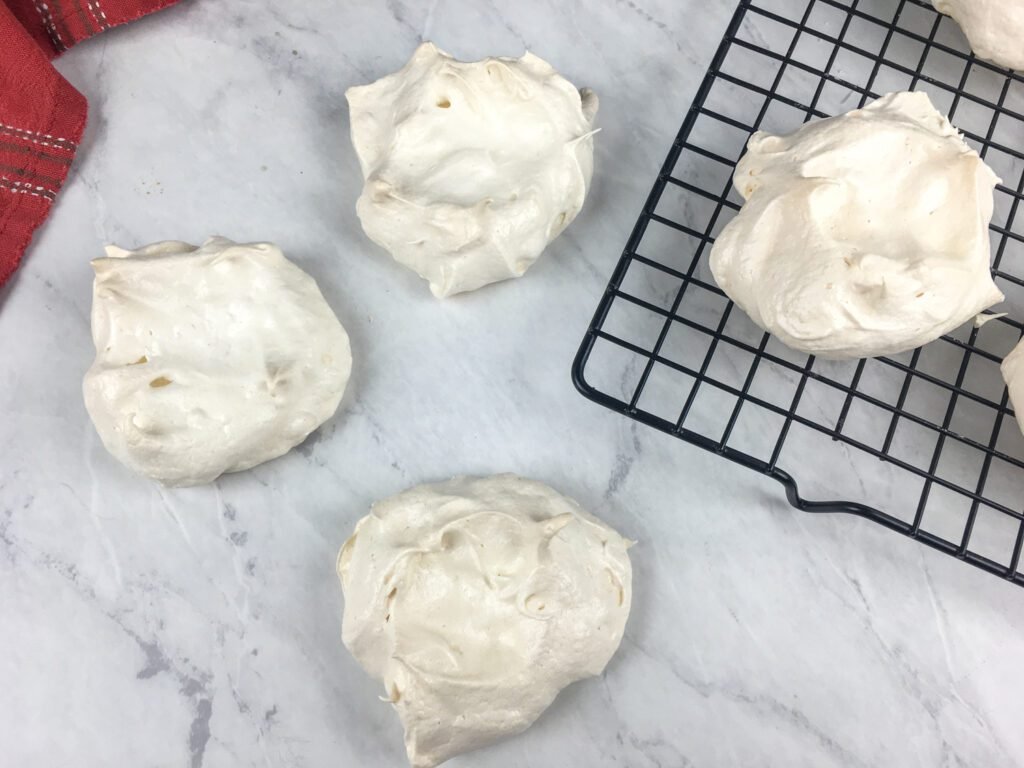
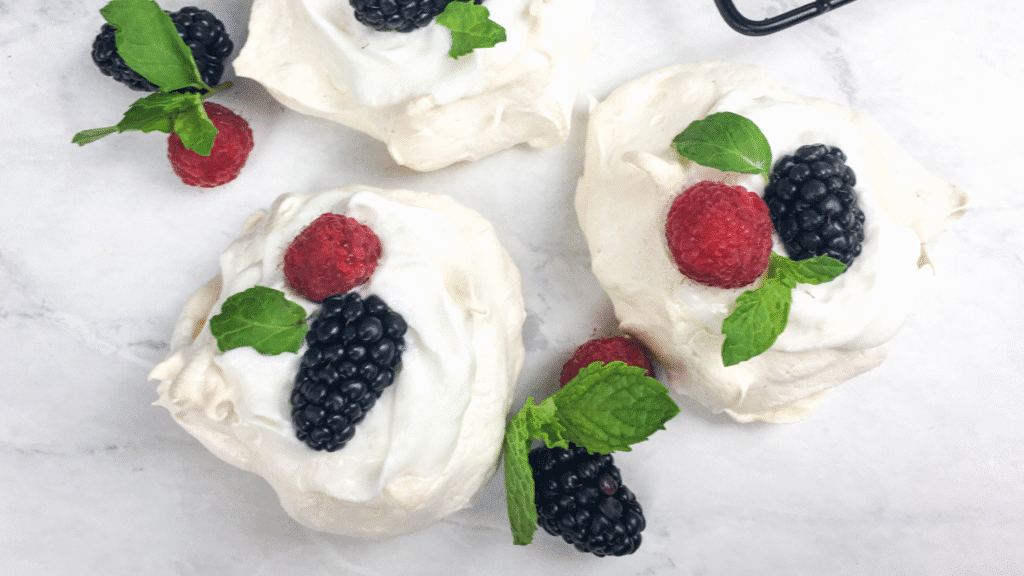
- Top with whipped cream, fresh berries, and optional chocolate chips or herbs.


- Serve immediately for the best texture.
That’s it! You’ve just created a dessert that’s both simple and show-stopping.
Mini Pavlova Tips and Troubleshooting
Want to level up your pavlovas? Here are some tried-and-true tips.
- Separate eggs while cold for fewer breaks and cleaner yolks.
- Room-temperature egg whites whip better—let them sit out for 30 minutes.
- Superfine sugar dissolves more easily, creating a smoother meringue.
- Avoid humidity – Moisture in the air can ruin the structure of your meringue.
- Store un-topped pavlovas in an airtight container for up to 2 days.
- Avoid overbeating the whites; they should be glossy, not grainy.
Mini Pavlova Flavor Ideas and Substitutions
Once you’ve mastered the basic recipe, try these delicious twists.
Flavor Variations
- Lemon curd or mascarpone cream instead of whipped cream
- Passionfruit or kiwi slices for a tropical vibe
- Drizzle of honey or chocolate ganache for extra indulgence
Pairing Suggestions
| Dish Element | Pairing Suggestion |
|---|---|
| Beverage | Moscato d’Asti, champagne |
| Side Treat | Almond biscotti, fruit sorbet |
| Garnish | Edible flowers, citrus zest |
Final Thoughts
These mini pavlovas with fresh berries are more than just a pretty dessert—they’re a celebration of texture and flavor. With minimal ingredients and a simple method, you can make something that looks like it came from a fine bakery.
I hope you give this recipe a try and make it your own. Whether you stick to the classics or experiment with bold toppings, the results will be delicious.
Thanks for reading!
If you enjoyed this recipe, be sure to follow us on social media and subscribe to the blog for more crave-worthy recipes, smart kitchen tips, and culinary deep dives.
Let’s keep cooking something amazing—together.
FAQs About Mini Pavlovas
1. Can I make these ahead of time?
Yes, bake the meringue a day or two in advance and store it in an airtight container. Add toppings just before serving.
2. How do I store leftover pavlovas?
Keep un-topped pavlovas at room temperature in an airtight container for up to 2 days.
3. Can I use frozen berries?
It’s best to stick with fresh berries—frozen ones release moisture that can make the meringue soggy.
4. What’s a good dairy-free topping?
Use whipped coconut cream or a dairy-free whipped topping alternative.
5. Can I make one large pavlova instead of minis?
Yes! Simply increase the baking time slightly and shape it into a single large nest.
6. Why did my pavlovas crack?
Cracking usually happens from rapid cooling. Always cool them slowly in the oven.
7. What if I don’t have cream of tartar?
Use lemon juice or vinegar as a substitute.
8. Can I pipe these instead of using a spoon?
Absolutely! Use a piping bag for cleaner shapes and a more refined look.
9. What sugar works best?
Superfine sugar dissolves quickly, but granulated sugar works well if added gradually.
Mini-Pavlovas with Fresh Berries Recipe
Ingredients
Equipment
Method
- Position the oven racks near the center of the oven, spaced evenly apart.
- Preheat to 300°F (150°C) and line two large rimmed baking sheets with parchment paper or Silpat™. Set aside.
- In a clean, grease-free mixing bowl, use a stand or hand mixer to beat the egg whites until they become thick and turn white.
- While continuing to mix, gradually add the sugar, 1–2 tablespoons at a time, allowing each addition to fully incorporate before adding more.
- Add the cream of tartar and cornstarch, then beat until the mixture forms stiff, glossy peaks.
- Spoon the meringue onto the prepared baking sheets in equal portions.
- Use the back of a spoon to create a small indent in the center of each mound for the toppings.
- Place the baking sheets in the oven and bake at 300°F for 10 minutes.
- Then reduce the temperature to 225°F and bake for an additional 45 minutes.
- After baking, turn off the oven and let the pavlovas rest inside for 1 hour without opening the door (this prevents cracking).
- Once cooled, remove from the oven. Top with whipped cream, fresh berries, mini chocolate chips, and herbs, if desired
- Serve immediately for the best texture.

Video
Notes
Made these mini pavlovas? I’d love to see your spin! Snap a pic, tag @KitchenKnowHow, and use #KitchenKnowHowPavlovas. For more expert dessert tips and easy kitchen wins, follow along and never miss a recipe!