
Ever wanted to make crème brûlée but don’t own a kitchen torch? Or maybe you have one tucked away but feel uneasy about using it. The good news is you can still achieve that signature caramelized sugar topping without any special equipment. This easy crème brûlée recipe without a torch uses your oven’s broiler to create the same golden, glass-like crunch you’d find in a fine French restaurant.
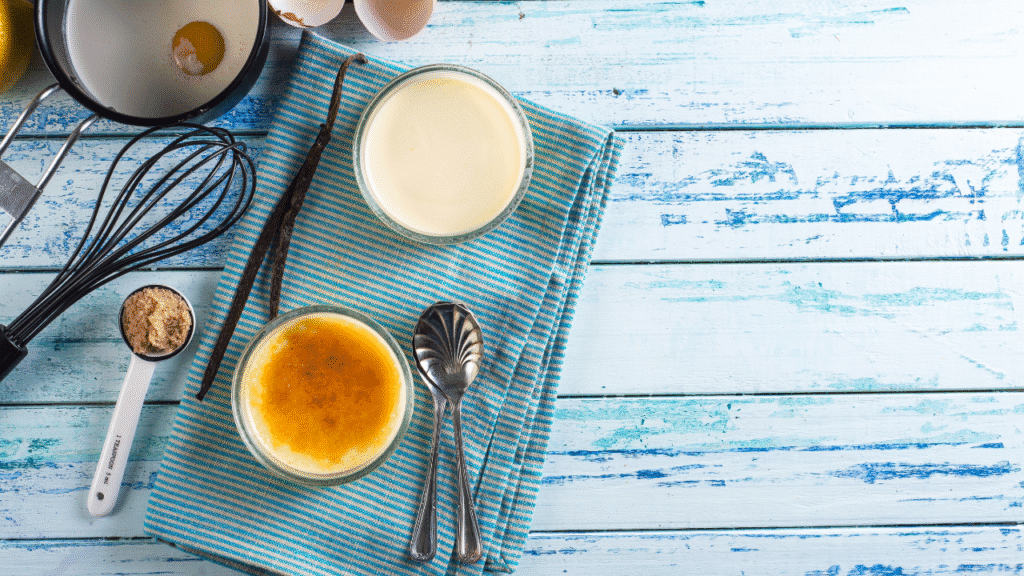
The broiler method gently melts and caramelizes the sugar into a perfect amber shell, while keeping the custard beneath cool and silky. When served, the crisp sugar crust gives way to smooth, vanilla-infused custard, creating the classic contrast of textures and flavors that makes this dessert so beloved.
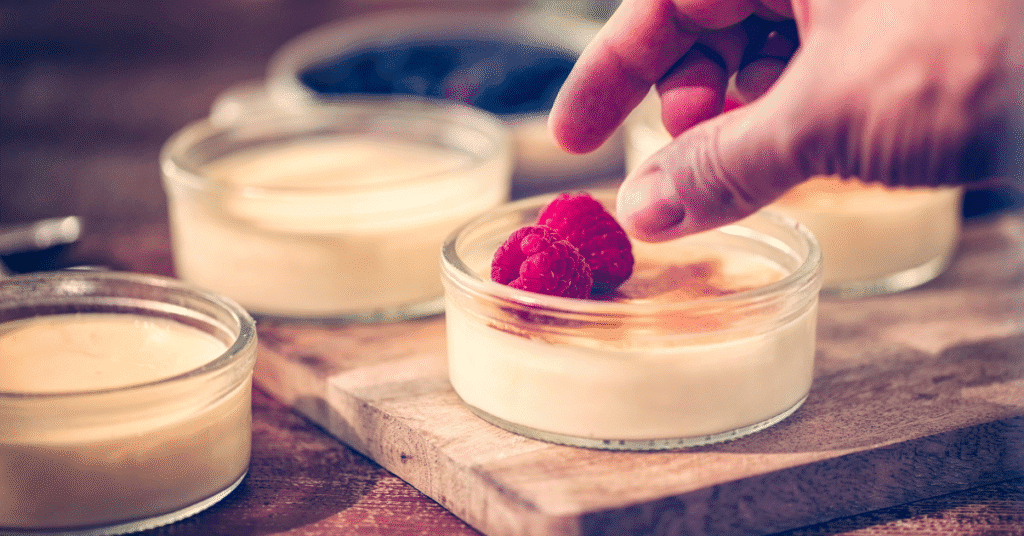
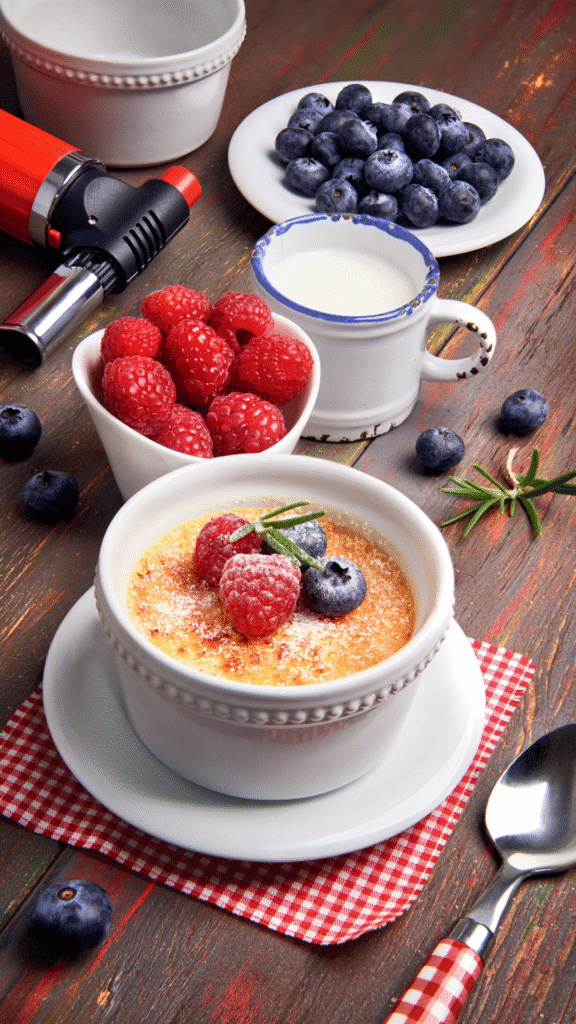
This combination of warm, crackly sugar and chilled, creamy custard is exactly what has made crème brûlée a timeless French classic—and now, you can bring that elegance to your kitchen, no torch required.
🍯Why You’ll Love This Recipe

If you’ve been looking for a foolproof way to make crème brûlée at home, this broiler method delivers stunning results without special tools. From its crisp, golden sugar top to the cool, velvety custard beneath, every bite is a perfect balance of textures and flavors. Here’s why this recipe deserves a spot in your dessert repertoire:
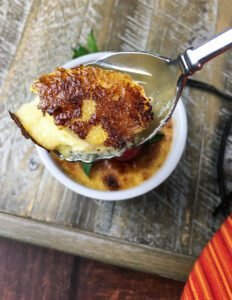
✅Taste & Texture You’ll Love: Tap your spoon through a crisp, caramelized sugar shell and discover silky-smooth vanilla custard beneath. The gentle bitterness of the caramel balances the custard’s sweetness for a flavor combo you’ll crave long after the last bite.
✅No Torch? No Problem: Your oven’s broiler does the job beautifully—no open flames, no special tools, no stress. This method is approachable for beginners yet reliable enough for seasoned bakers.
✅Works with Any Ramekins: Deep 6-oz ramekins are ideal for the broiler since they keep the custard cool underneath. Only have shallow dishes? They’re great too, especially if you own a torch. This recipe adapts to what you already have in your kitchen.
✅Naturally Gluten-Free: No swaps or special products required. This dessert is already gluten-free, making it a safe, indulgent choice for nearly everyone at the table.
✅Tested for Success: This method has been tried with both shallow and deep ramekins, so you get clear, proven recommendations for perfect results—every single bake.
🥛What Ingredients Are in Crème Brûlée
This recipe keeps things wonderfully simple—just a handful of ingredients transform into one of the most indulgent desserts you can make at home. Below, you’ll find the key components that give this oven-broiled crème brûlée its creamy texture, deep vanilla flavor, and signature crackly sugar topping.
Ingredients (no measurements)
- Heavy cream
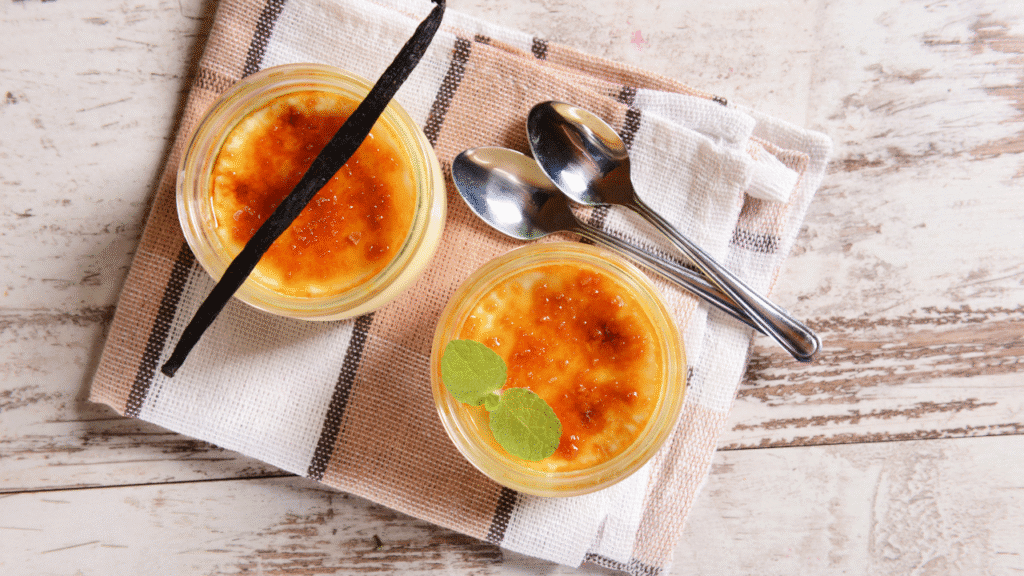
- Whole vanilla bean
- Salt
- Egg yolks
- Granulated sugar
- Coarse sugar (for topping)
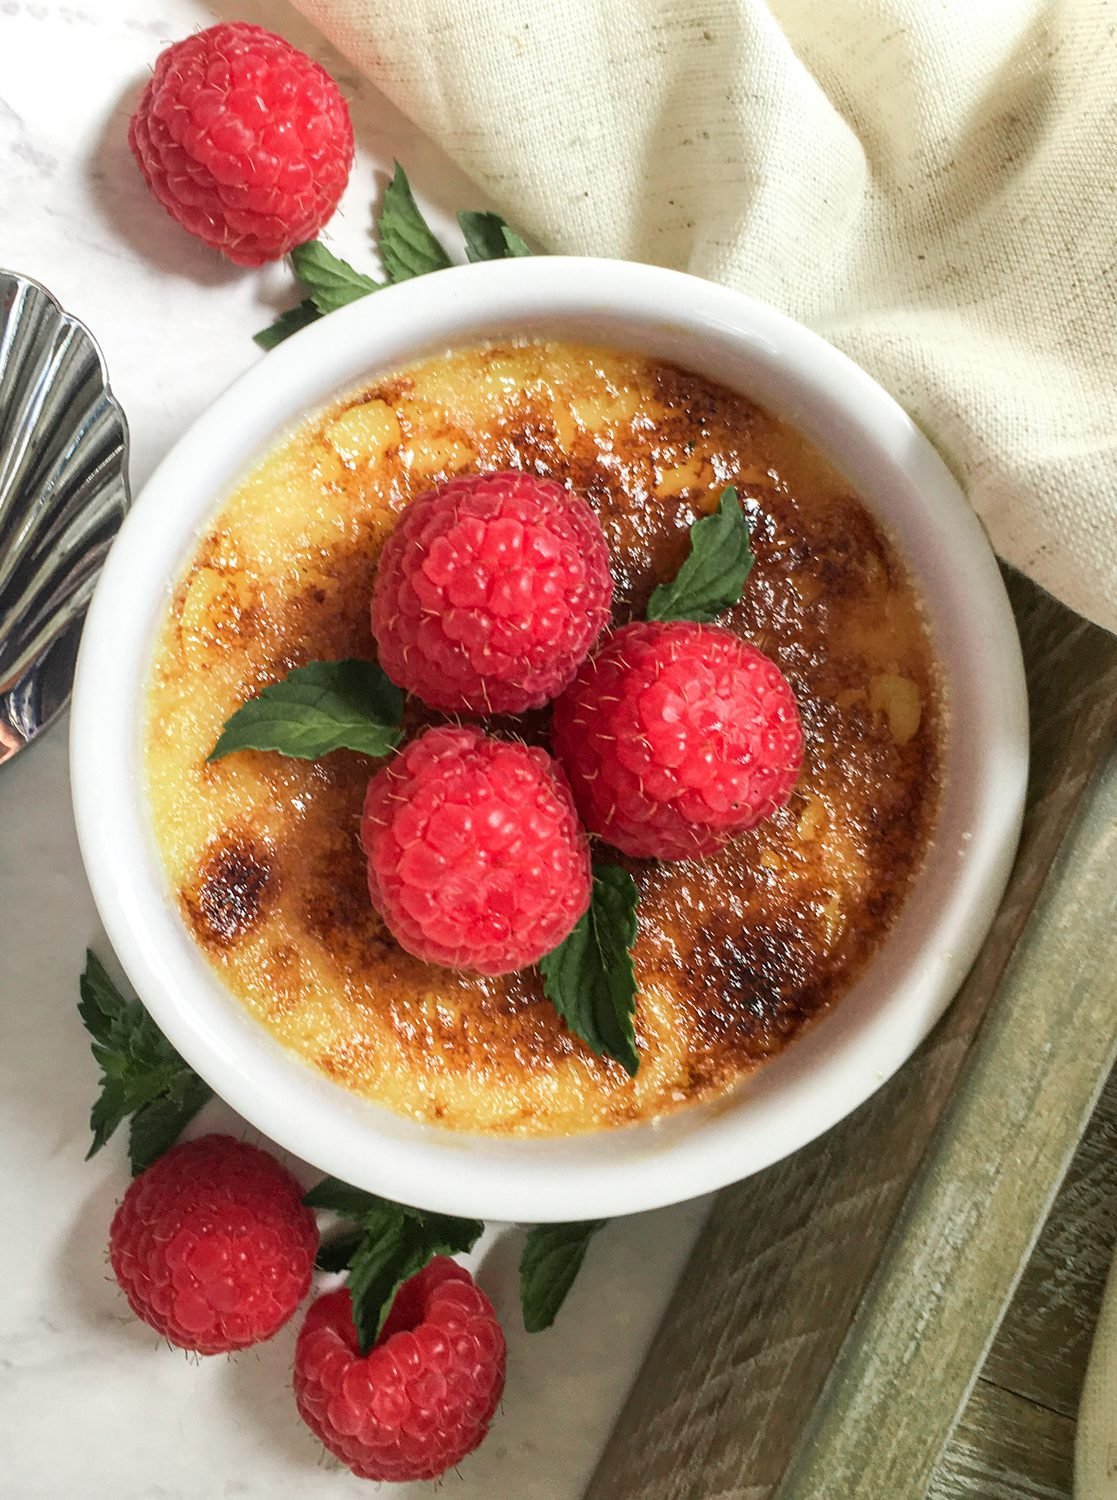
- Fresh raspberries (optional garnish)
- Mint sprigs (optional garnish)
Ingredient Tips & Substitutions
Heavy Cream
- Why it’s important: Provides the custard’s luxurious, silky mouthfeel.
- Substitute: Half-and-half will make a lighter custard, but avoid using milk—it won’t set as well.
- Pro Tip: Choose fresh, high-fat cream for the richest texture.
Whole Vanilla Bean

- Why it’s important: Real vanilla beans infuse the custard with deep, aromatic flavor and beautiful flecks.
- Substitute: Use 2 teaspoons of pure vanilla extract or vanilla bean paste if whole beans aren’t available.
- Pro Tip: Save the scraped pod—store it in sugar to make homemade vanilla sugar.
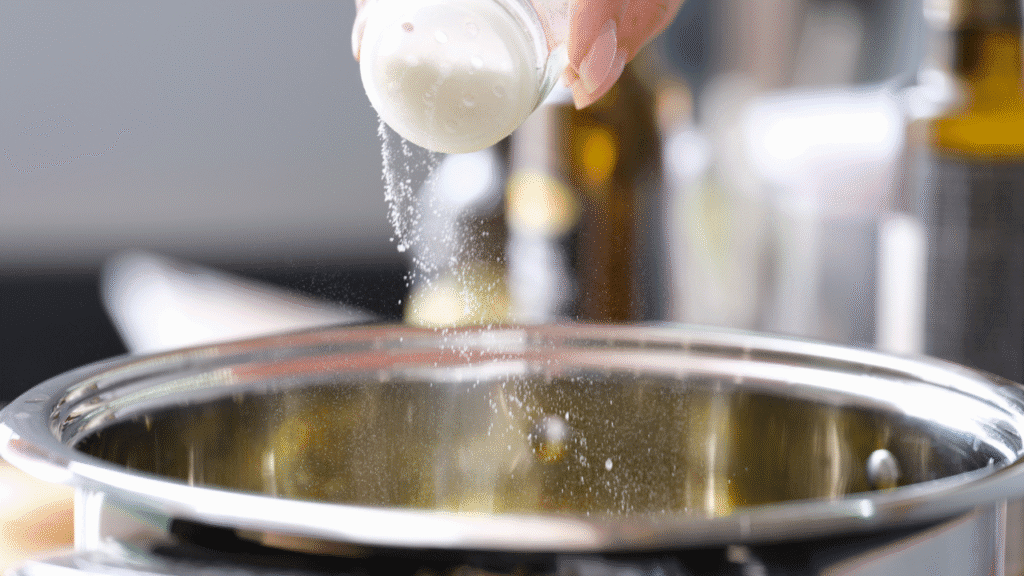
Salt

- Why it’s important: Enhances the sweetness and balances the flavors.
- Pro Tip: A tiny pinch goes a long way—don’t skip it.
Egg Yolks

- Why it’s important: Give the custard its smooth, rich structure.
- Pro Tip: Separate eggs while they’re cold—it’s easier and reduces breakage. Reserve whites for meringues or omelets.
Granulated Sugar

- Why it’s important: Sweetens the custard without overpowering the vanilla.
- Substitute: Superfine sugar blends more easily, but regular sugar works perfectly.
Coarse Sugar

- Why it’s important: Creates that golden, shatter-worthy crust when broiled.
- Best Options: Turbinado, demerara, or raw cane sugar for a deeper caramel flavor.
- Pro Tip: Spread in an even layer for uniform caramelization.
Fresh Raspberries & Mint Sprigs (optional)
- Why it’s important: Adds freshness, color, and a visual pop to balance the custard’s richness.
- Substitute: Blueberries, sliced strawberries, or even edible flowers for a seasonal twist.
🔪What Tools You Need for Crème Brûlée


You don’t need fancy equipment to make perfect crème brûlée without a torch—just a few reliable kitchen tools will help you nail the creamy custard and crisp sugar topping. Here’s what you’ll need and how to make the most of each item.
Essential Tools
- Mixing bowl – For whisking egg yolks and sugar until smooth. Choose a medium-sized bowl for easy mixing.
- Measuring spoons – To measure salt, sugar, and any flavor additions accurately.
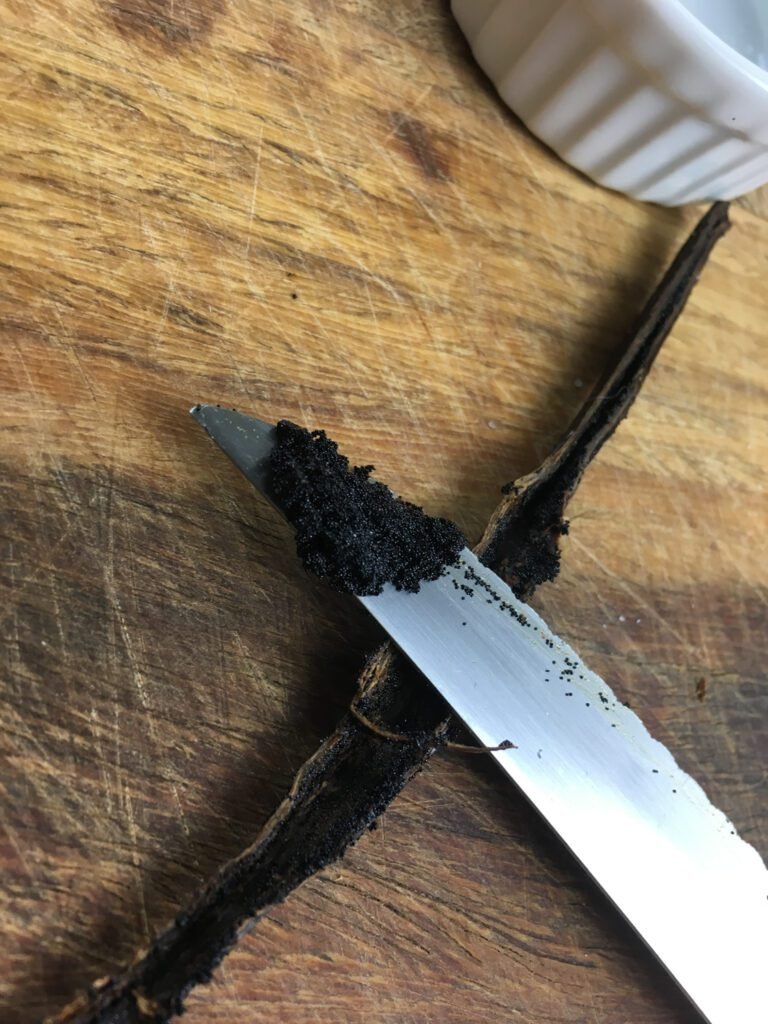
- Chef’s knife & cutting board – For splitting and scraping the vanilla bean.
- Kitchen towels – To protect your hands, cushion ramekins, and prevent water bath spills.
- Oven mitts – Essential for safely removing the hot baking dish from the oven.
- Heavy-bottomed saucepan – Distributes heat evenly to warm the cream without scorching gently.
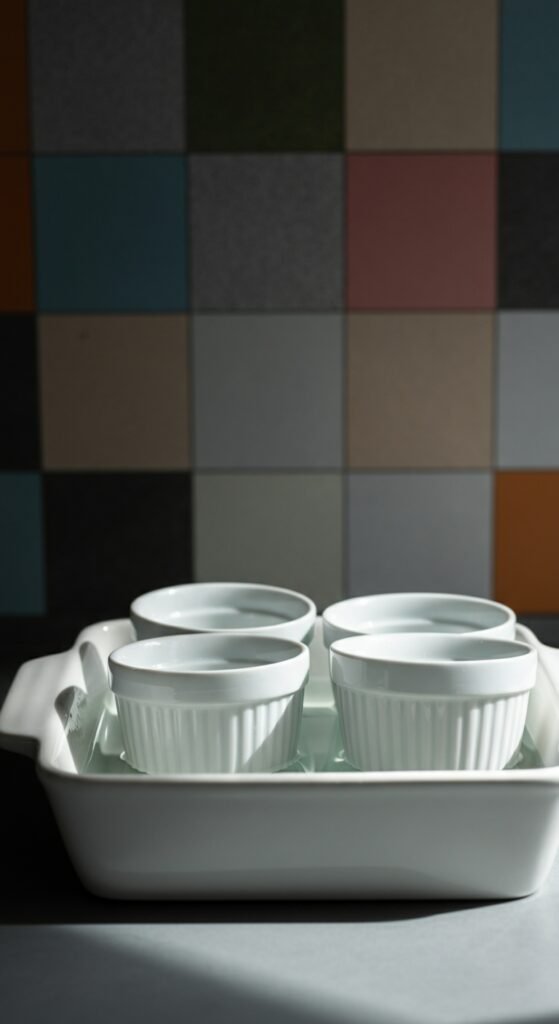
- Ramekins – Heatproof dishes for baking and serving the custard. Deep 6-oz ramekins work best for the broiler method.
- Baking dish (high-sided) – Holds the ramekins and hot water for the water bath.
- Whisk – For blending the custard mixture until perfectly smooth.
- Baking thermometer – An instant-read thermometer ensures your cream reaches the right temperature without boiling.
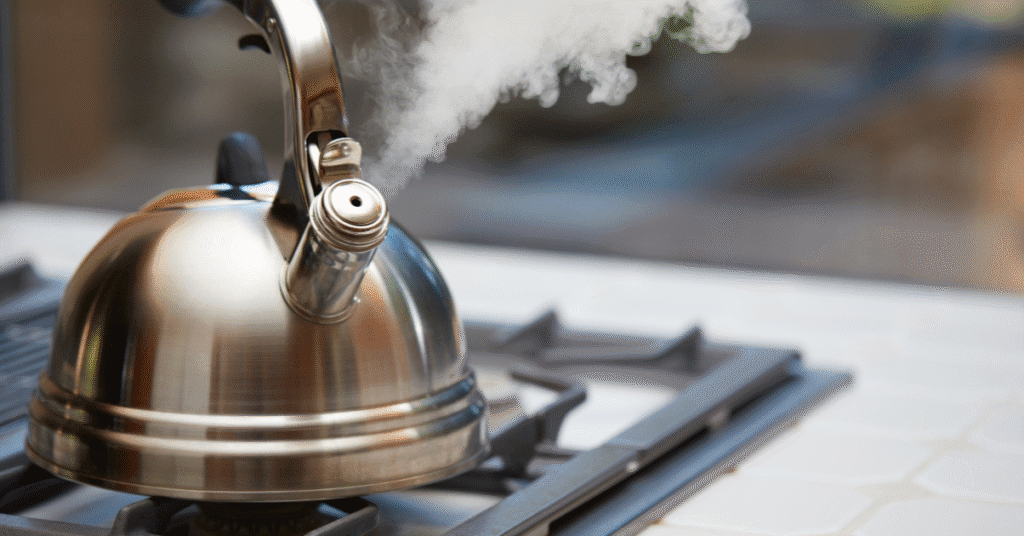
- Tea kettle – Makes it easier to pour hot water into the baking dish without splashing.
Tool Tips & Alternatives

- No heavy-bottomed saucepan? Use a small stockpot and keep the heat low to avoid scorching the cream.
- No instant-read thermometer? Heat cream until you see small bubbles around the edges—avoid boiling.
- No ramekins? Use any small, oven-safe dish; adjust baking time depending on depth.
Pro Tip: Always place a kitchen towel under your ramekins in the baking dish before adding water—this prevents them from sliding and reduces the risk of hot water splashing.
🍮How to Make Broiled Crème Brûlée (No Torch Required)
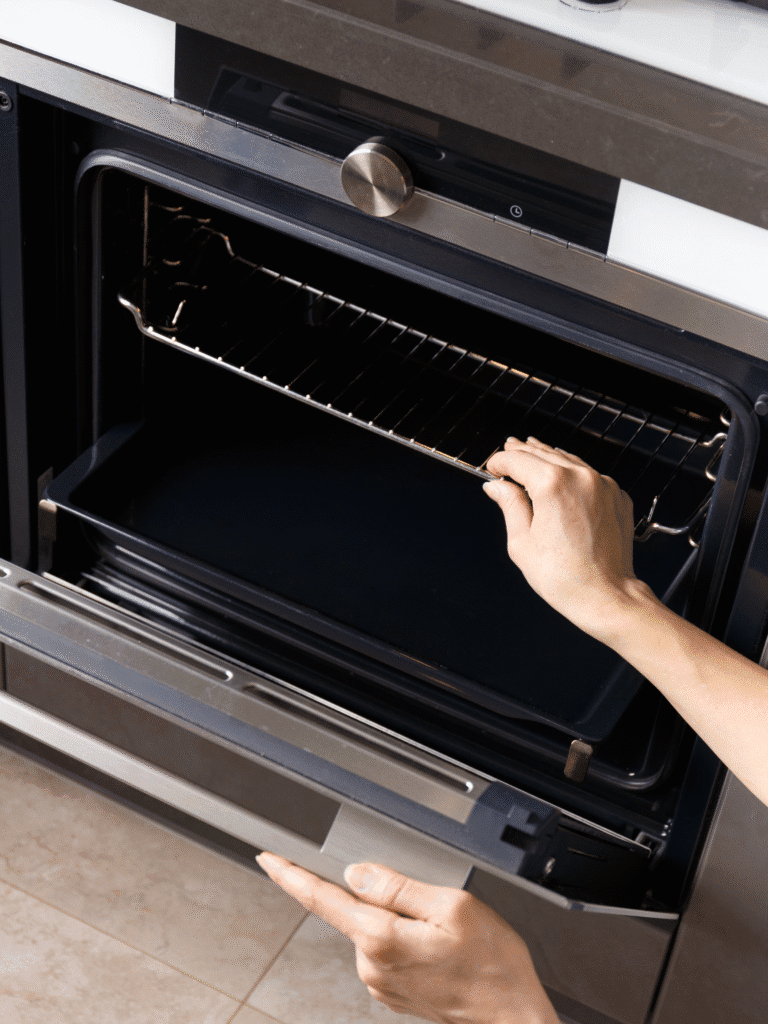
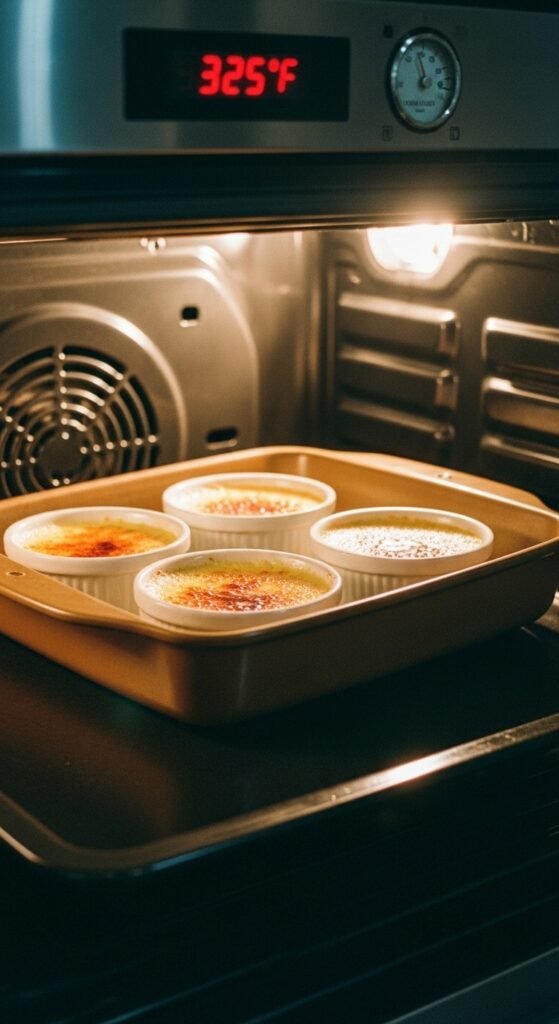
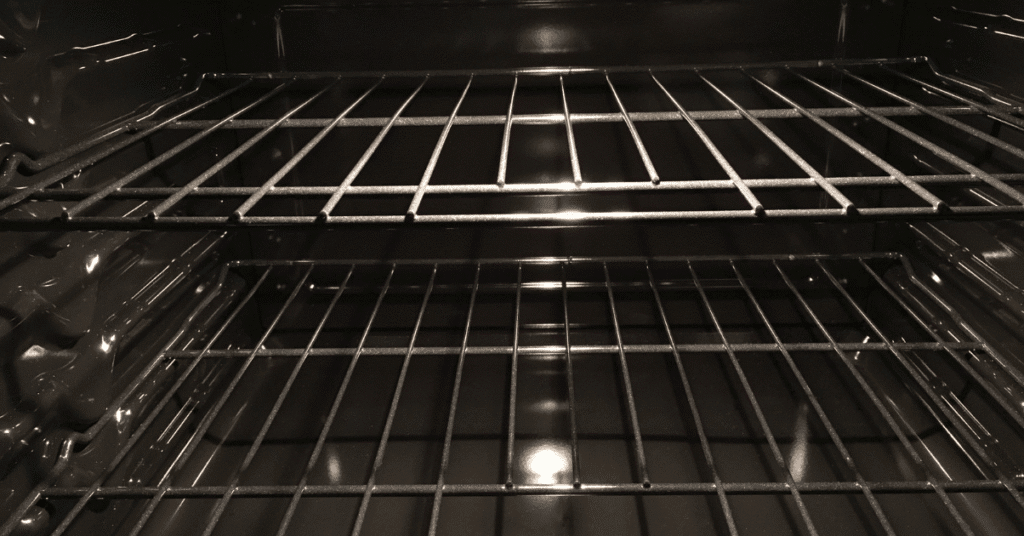
1. Prep the oven and ramekins:
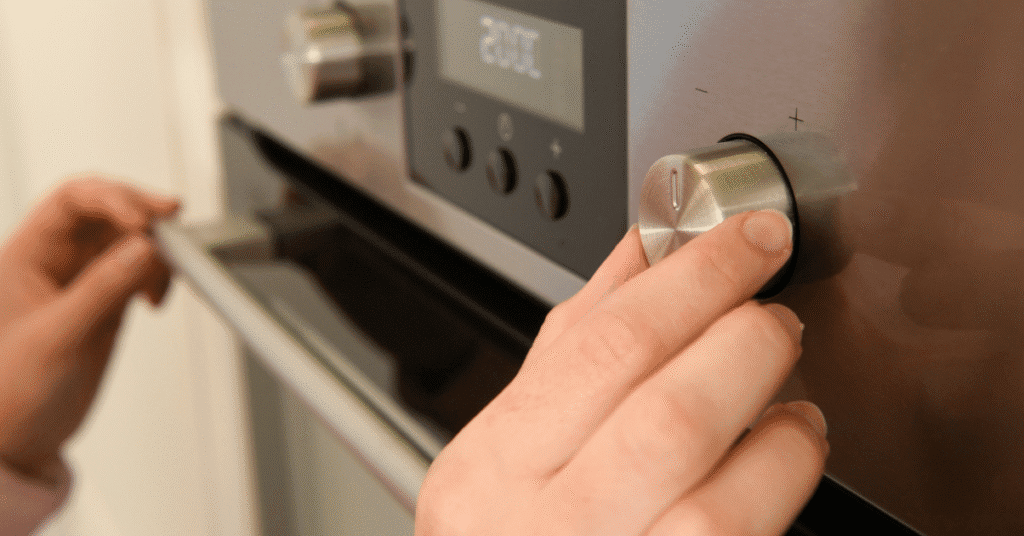
- Place the top oven rack in the center position and preheat to 325°F.
- Heat water in a tea kettle or saucepan over high heat.
- Arrange four 6-oz ramekins in a large, high-sided baking dish; set aside.
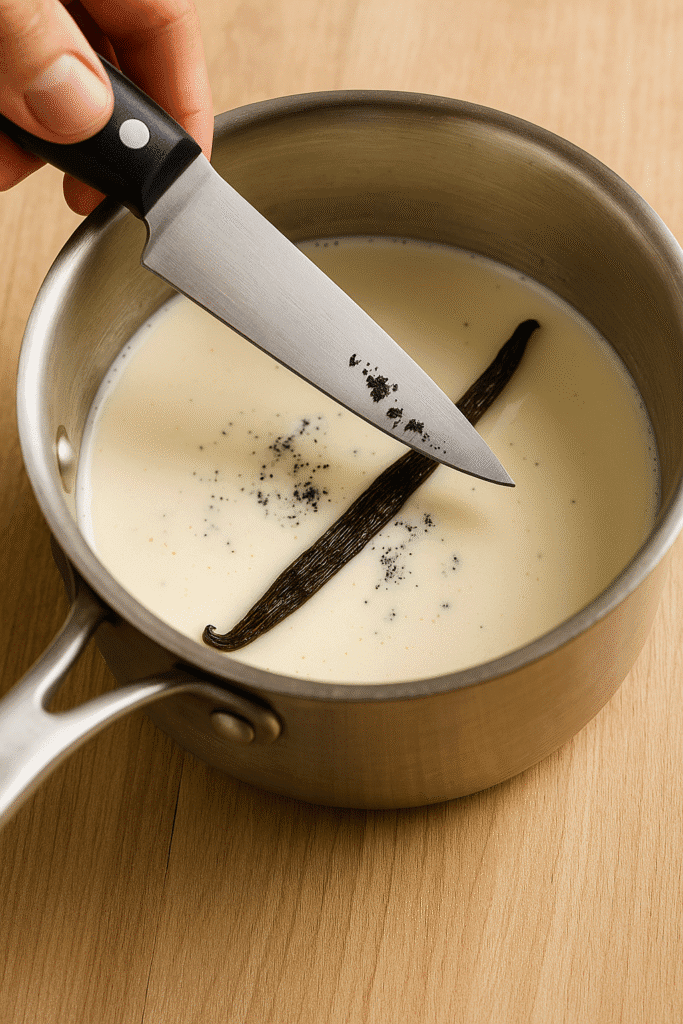
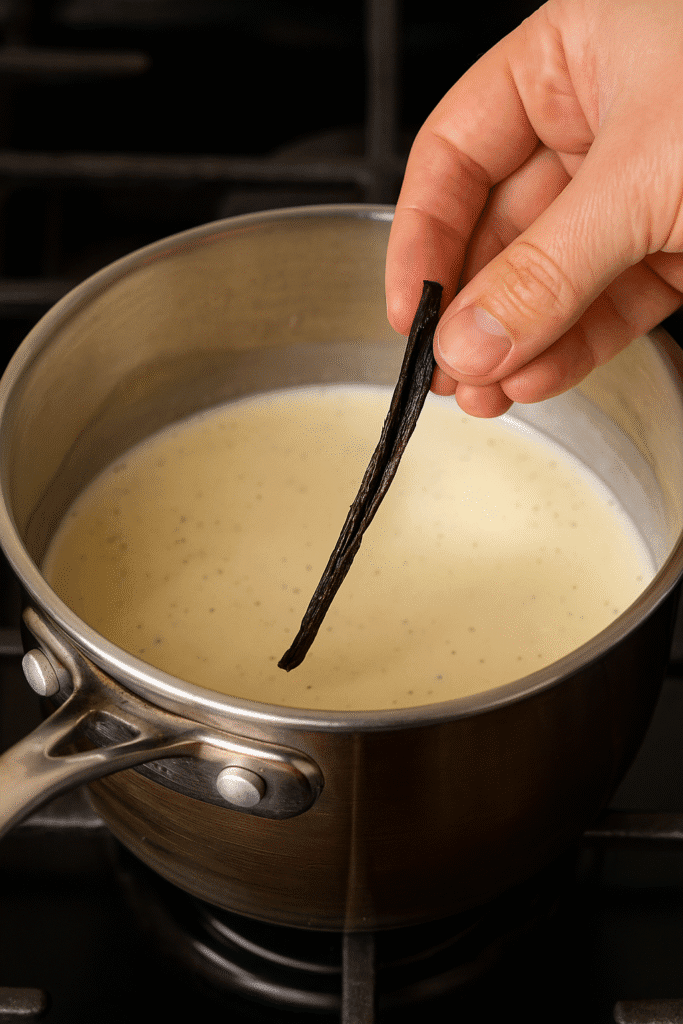
2. Infuse the cream:
- Pour the cream into a heavy-bottomed pan.
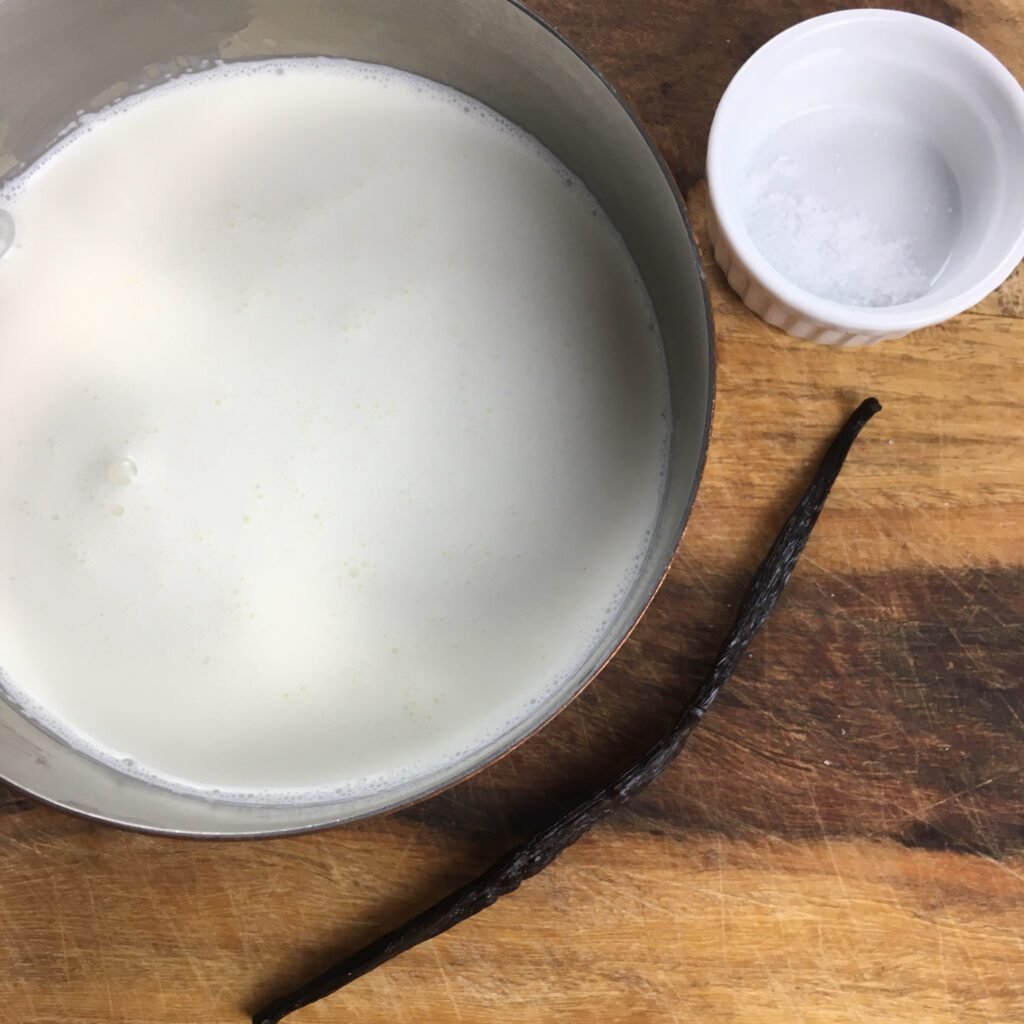
- Slice the vanilla bean lengthwise, scrape out the pulp, and add both the pulp and pod to the cream along with the salt. Stir to combine and set aside.
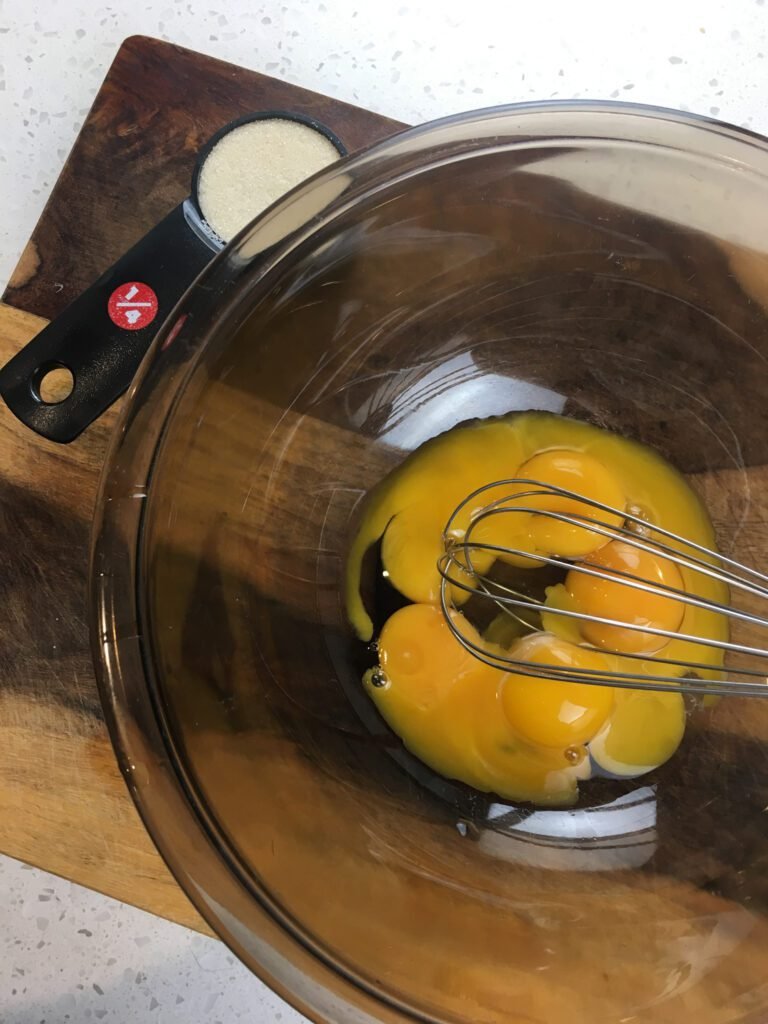
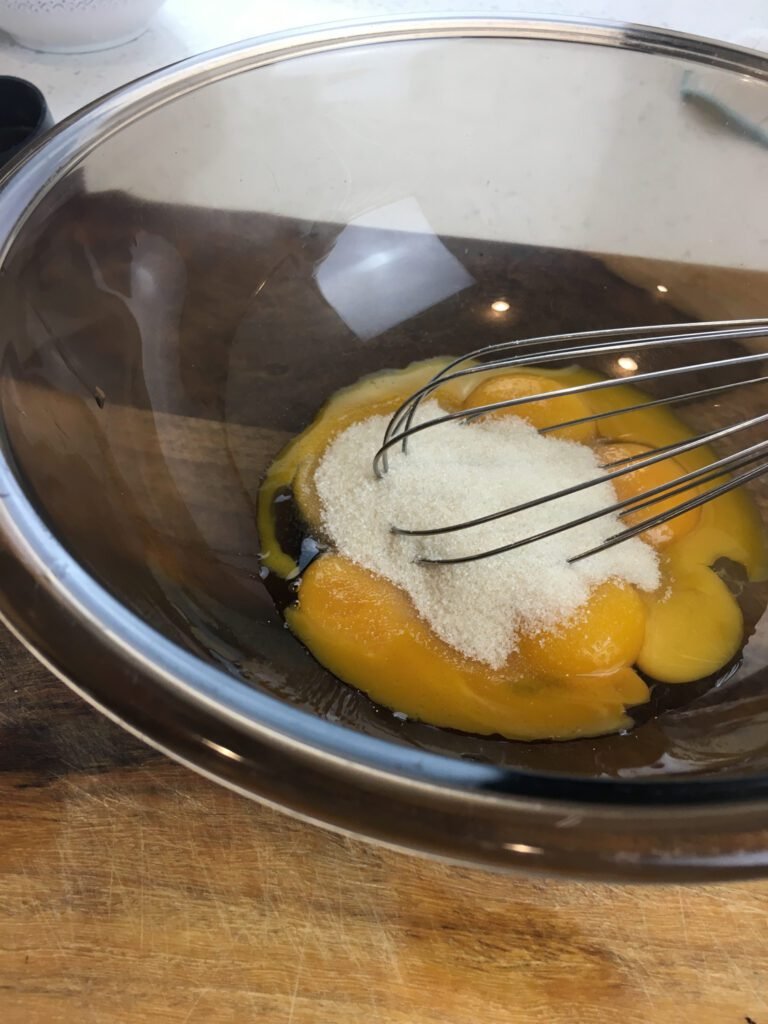
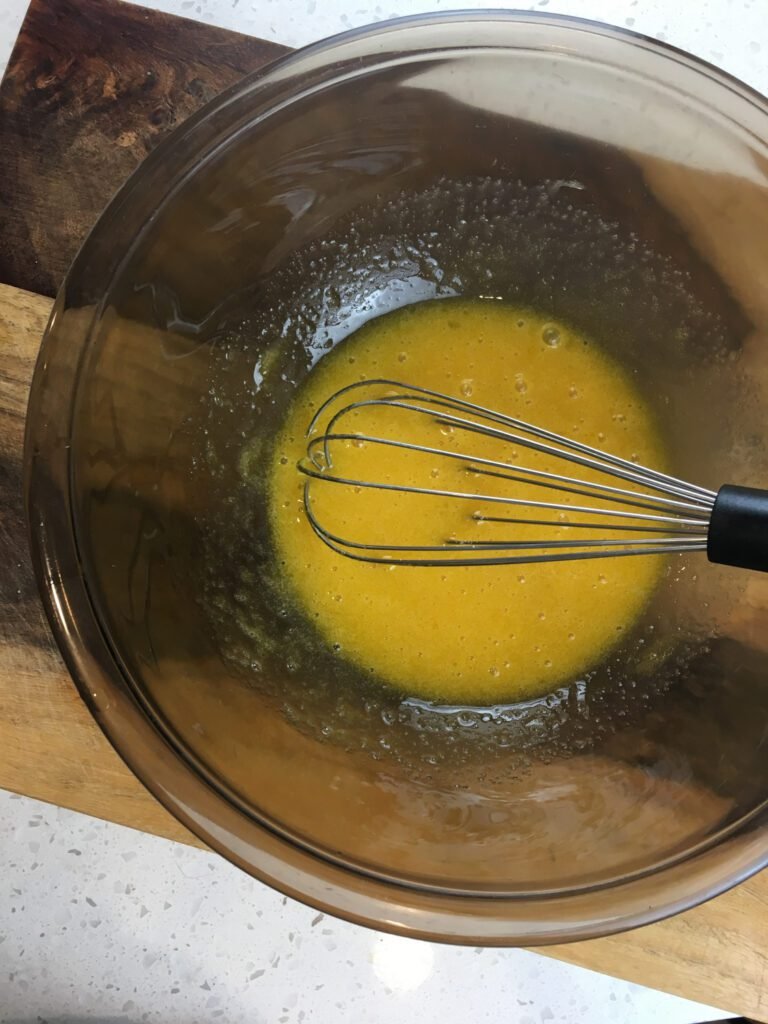
3. Make the custard base:
In a large bowl, whisk the egg yolks with the granulated sugar until thoroughly combined; set aside.
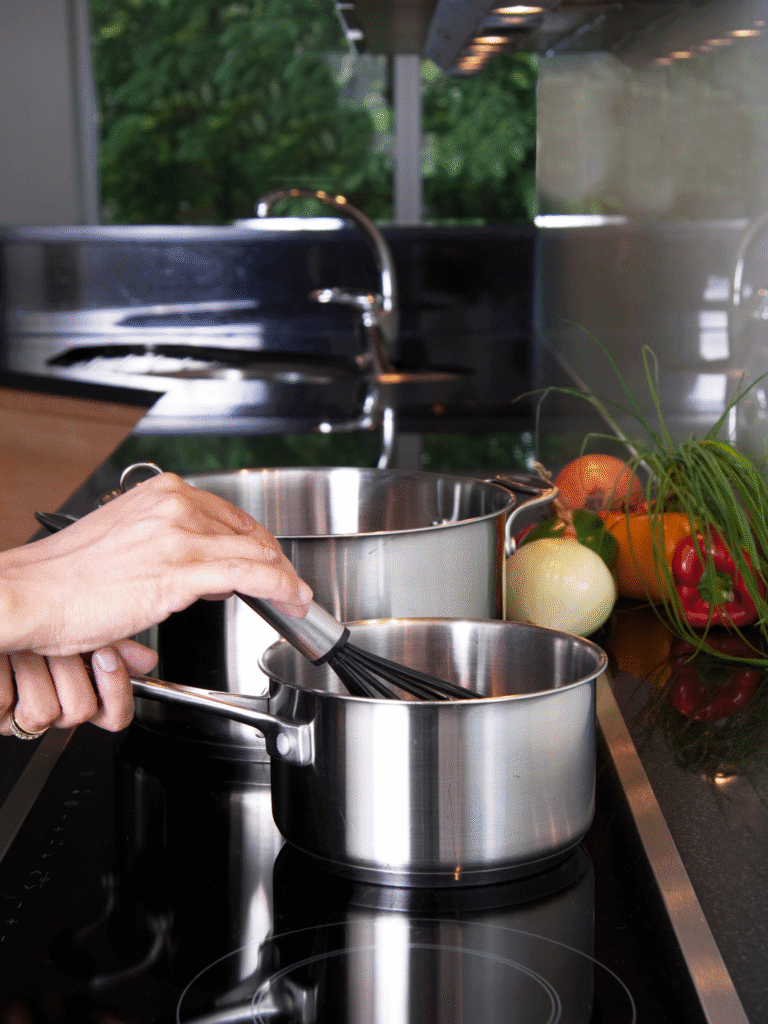
4. Heat the cream:
- Place the pan of cream over medium-low heat and bring to a gentle simmer.

- When the cream reaches 180°F on an instant-read thermometer, remove from heat.

- Carefully remove and discard (or reserve) the vanilla bean pod.
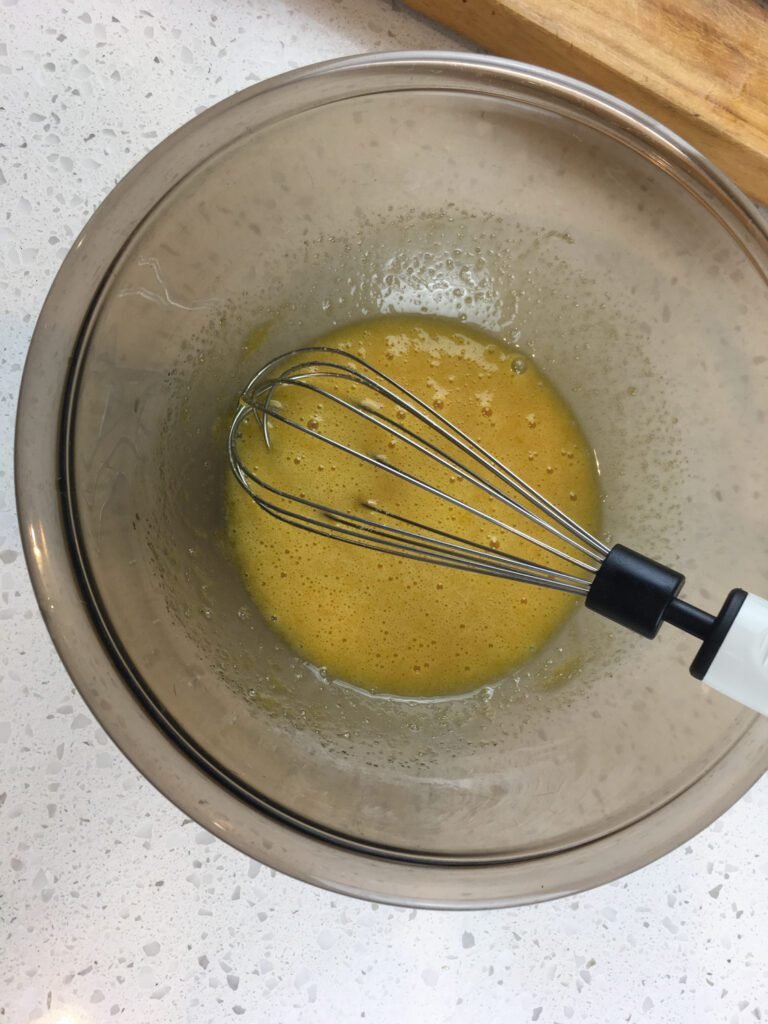
5. Temper the eggs:
- Add a couple of tablespoons of the warm cream to the egg mixture, stirring to combine.
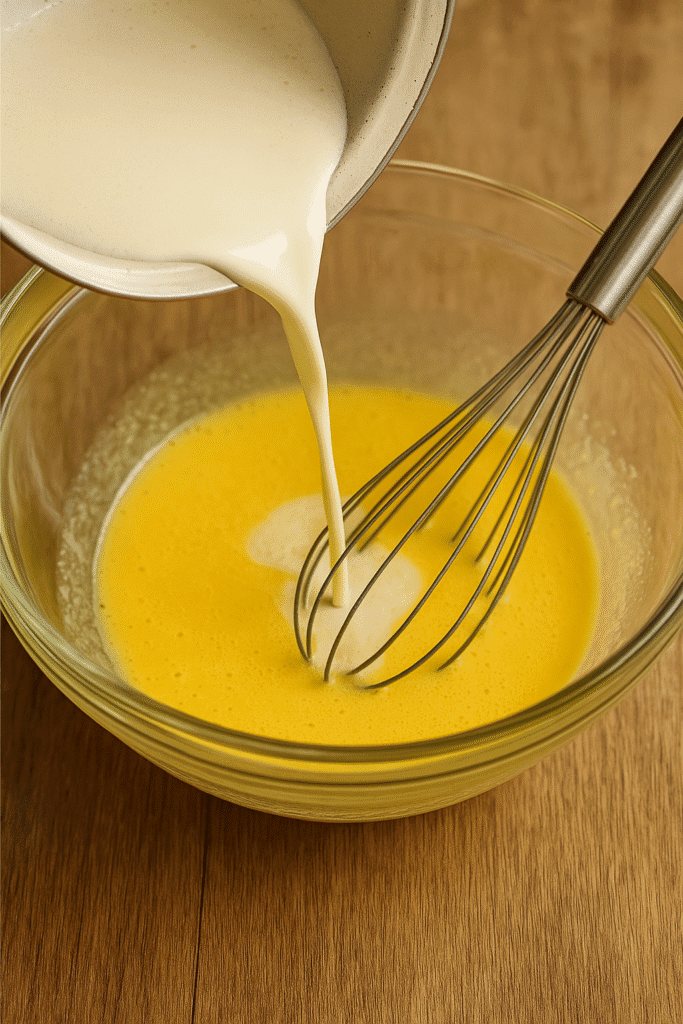
- Then, slowly whisk the tempered egg mixture into the remaining cream until smooth.

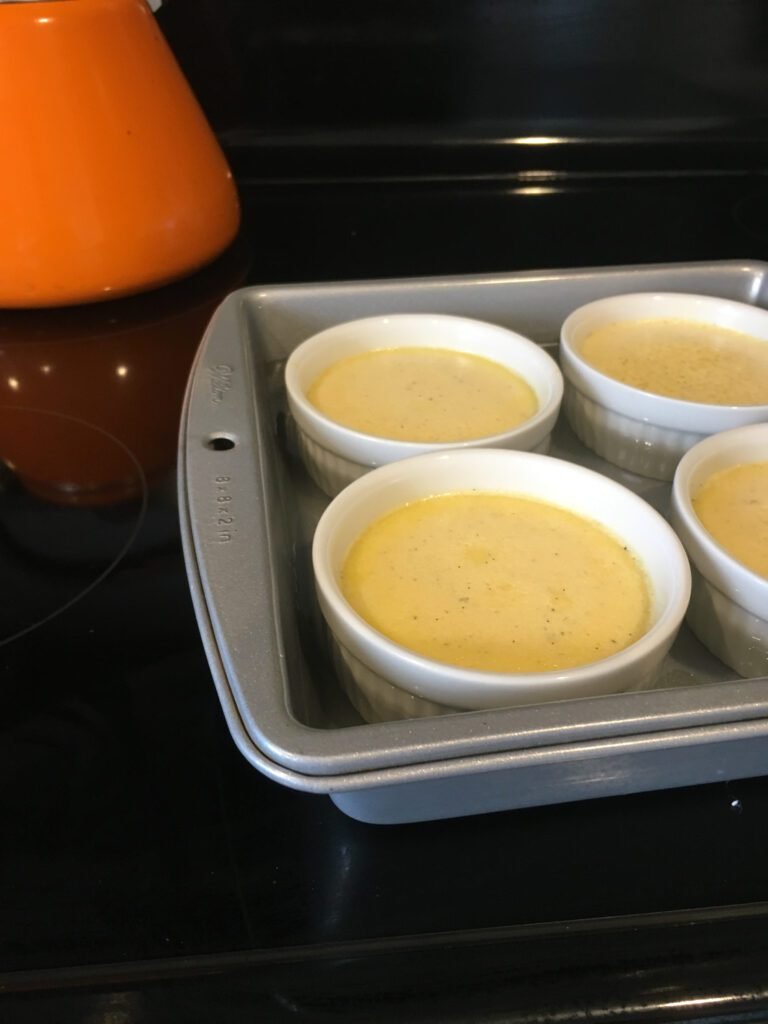
6. Bake in a water bath:
- Pour the hot water into the baking dish around the ramekins, creating a water bath (do not splash into the ramekins). Divide the custard evenly among the ramekins, without overfilling.
- Bake for 45–50 minutes, until the edges are set but the center is still slightly wobbly.
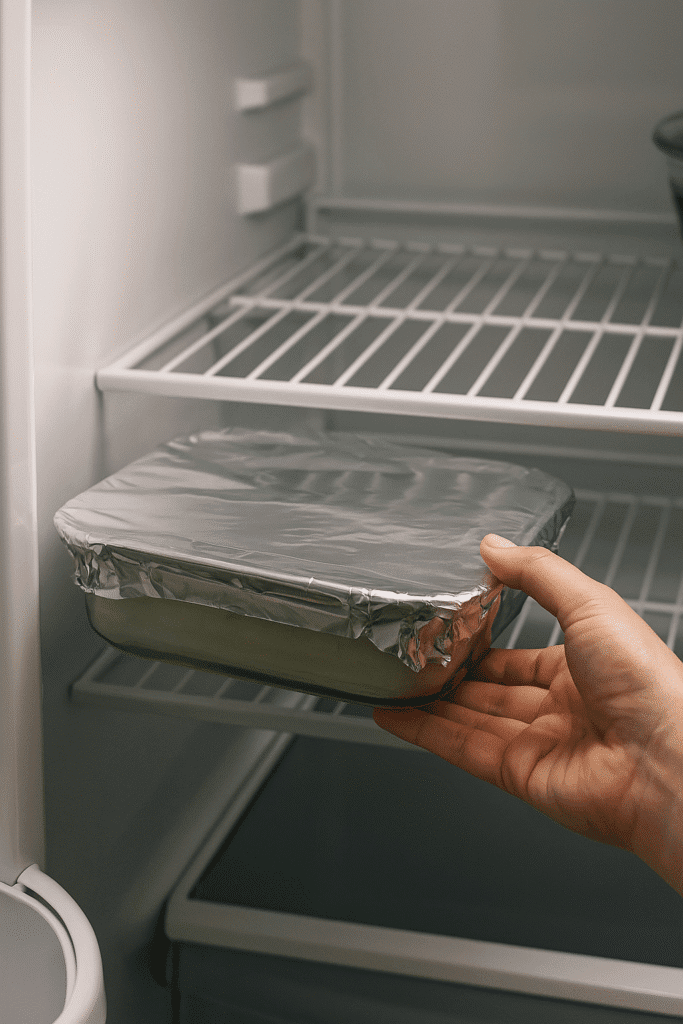
7. Chill completely:
- Remove the baking dish from the oven.
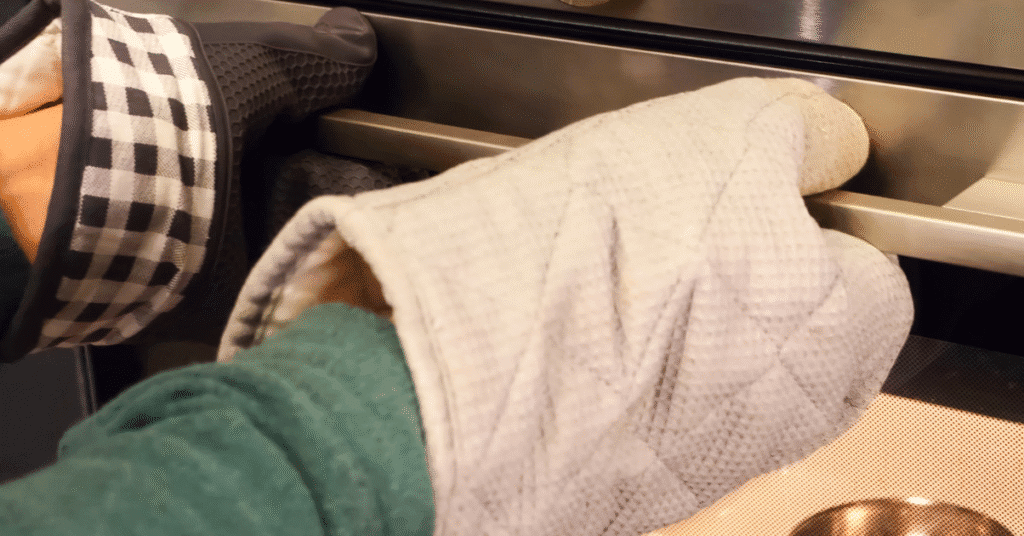
- Cool the ramekins to room temperature, then cover and refrigerate for at least 4 hours (overnight is best).
8. Caramelize the sugar:
- Before serving, adjust the oven rack to 3–4 inches below the broiler.
- Set the broiler to high.
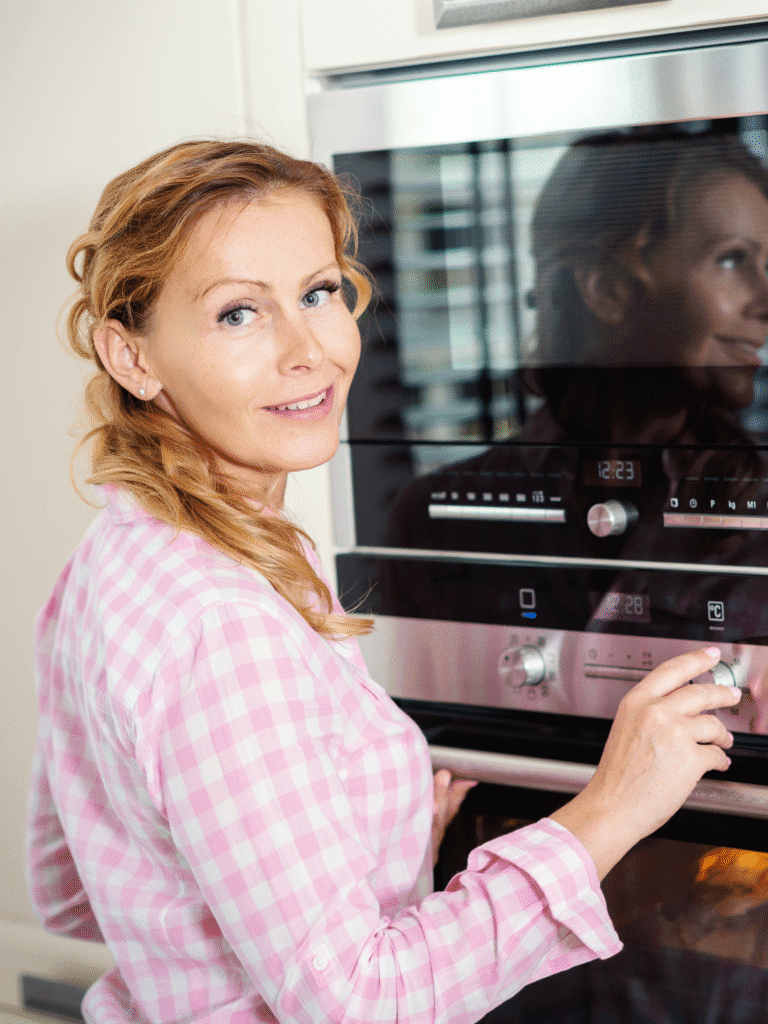
- Sprinkle each custard with an even layer of coarse sugar and broil for 4–5 minutes, watching closely to prevent burning.
- Rotate if needed for even caramelization.

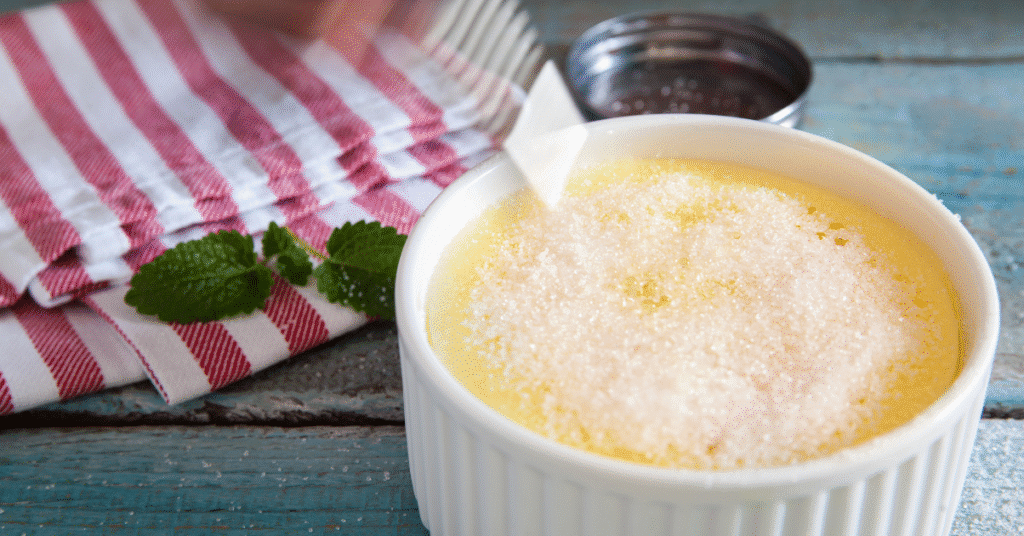
9. Serve:
- Cool for a few minutes to let the sugar crust harden.

- Garnish with fresh raspberries and mint sprigs, then serve immediately.

💡Tips & Tricks for Perfect Broiled Crème Brûlée
This dessert may look fancy, but with the right tips, it’s easy to master at home. Here’s how to get the most out of your no-torch crème brûlée.
| Tip | Details | Pro Notes |
|---|---|---|
| Get the Right Sugar for the Topping | Use coarse sugar like turbinado, demerara, or raw cane sugar for a crisp crust. Avoid powdered sugar—it burns and won’t harden properly. | Shake the ramekin gently after sprinkling to level the sugar for even caramelization. |
| Keep the Custard Cool | Always chill completely before broiling. | To prevent warming, place ramekins in a shallow ice bath for 30–60 seconds after broiling (avoid splashing). |
| Prevent a Grainy Texture | Strain custard through a fine mesh sieve before baking. Bake in a gentle water bath. | This ensures a smooth, creamy texture. |
| Adjust for Ramekin Size | Deep 6-oz ramekins work best for broiling. Shallow ramekins are better for torching. | Choose based on your method. |
| Make Ahead | Bake and chill up to 48 hours in advance. | Caramelize sugar just before serving for the best crunch. |
| Storage Tips | Store without topping for up to 3 days in the fridge. | Once topped and caramelized, enjoy immediately for the best texture. |
| Presentation Ideas | Garnish with berries, edible flowers, or a chocolate drizzle. | Serve on small plates with demitasse spoons for elegance. |
✨Final Thoughts

Making crème brûlée without a torch isn’t just possible—it’s deliciously rewarding. With its smooth, vanilla-infused custard and perfectly crisp caramelized sugar topping, this dessert proves you don’t need special equipment to create a showstopper. The oven broiler method delivers all the elegance of a restaurant dessert while keeping things simple and approachable for home cooks.
This recipe is also wonderfully adaptable—whether you’re experimenting with flavors, preparing it ahead for a dinner party, or adjusting for different ramekin sizes, you’ll have the confidence to make it your own. And because it’s naturally gluten-free, it’s a crowd-pleaser that works for a variety of dietary needs.
I hope this guide has inspired you to try making broiled crème brûlée at home. The first spoonful—the satisfying crack of sugar followed by that cool, creamy custard—will remind you why this dessert has been a timeless favorite for centuries.
I’d love to see your creations! Share your photos on social media and tag them with #KitchenKnowHowHub so I can celebrate your success. Don’t forget to leave a comment below with your favorite flavor twist or serving idea—you might just inspire another home cook.
Happy baking, and bon appétit!
❓FAQs for Broiled Crème Brûlée (No Torch Method)
1. How do I make crème brûlée without a torch?
You can use your oven’s broiler to caramelize the sugar topping. Sprinkle an even layer of coarse sugar on the chilled custard and broil on high for 4–5 minutes until golden brown.
2. Can I make crème brûlée ahead of time?
Yes. You can bake and chill the custards up to 48 hours in advance. Add and broil the sugar topping just before serving to keep the crust crisp.
3. How do I store leftover crème brûlée?
Store baked custards without the sugar topping in an airtight container in the refrigerator for up to 3 days. Once topped and broiled, they are best eaten immediately.
4. What’s the best sugar for crème brûlée topping?
Coarse sugar such as turbinado, demerara, or raw cane sugar caramelizes evenly and creates a crunchy, glass-like crust.
5. Can I make crème brûlée dairy-free?
Yes. Replace heavy cream with full-fat coconut cream for a dairy-free alternative. The texture will be slightly different, with a subtle coconut flavor.
6. Why did my crème brûlée turn out grainy?
This usually happens when the custard is overcooked or baked at too high a temperature. Use a water bath and check for a slight jiggle in the center before removing from the oven.
7. Can I add flavors to my crème brûlée?
Absolutely! Try infusing the cream with espresso powder, citrus zest, spices like cinnamon, or floral additions like lavender for a unique twist.
Broiled Crème Brûlée Recipe!
Ingredients
Equipment
Method
- Place the top oven rack in the center position and preheat to 325°F.
- Heat water in a tea kettle or saucepan over high heat.
- Arrange four 6-oz ramekins in a large, high-sided baking dish; set aside.
- Pour the cream into a heavy-bottomed pan.
- Slice the vanilla bean lengthwise, scrape out the pulp, and add both the pulp and pod to the cream along with the salt.
- Stir to combine and set aside.
- In a large bowl, whisk the egg yolks with the granulated sugar until thoroughly combined; set aside.
- Place the pan of cream over medium-low heat and bring to a gentle simmer.
- When the cream reaches 180°F on an instant-read thermometer, remove from heat.
- Carefully remove and discard (or reserve) the vanilla bean pod.
- Add a couple of tablespoons of the warm cream to the egg mixture, stirring to combine.
- Slowly whisk the tempered egg mixture into the remaining cream until smooth.
- Pour the hot water into the baking dish around the ramekins, creating a water bath (do not splash into the ramekins).
- Divide the custard evenly among the ramekins, without overfilling.
- Bake for 45–50 minutes, until the edges are set but the center is still slightly wobbly.
- Remove the baking dish from the oven.
- Cool the ramekins to room temperature, then cover and refrigerate for at least 4 hours (overnight is best).
- Before serving, adjust the oven rack to 3–4 inches below the broiler.
- Set the broiler to high.
- Sprinkle each custard with an even layer of coarse sugar and broil for 4–5 minutes, watching closely to prevent burning.
- Rotate if needed for even caramelization.
- Cool for a few minutes to let the sugar crust harden.
- Garnish with fresh raspberries and mint sprigs, then serve immediately.

Video
Notes
1 thought on “Broiled Crème Brûlée (No Torch Needed for a Perfect Crackly Top)”
Comments are closed.