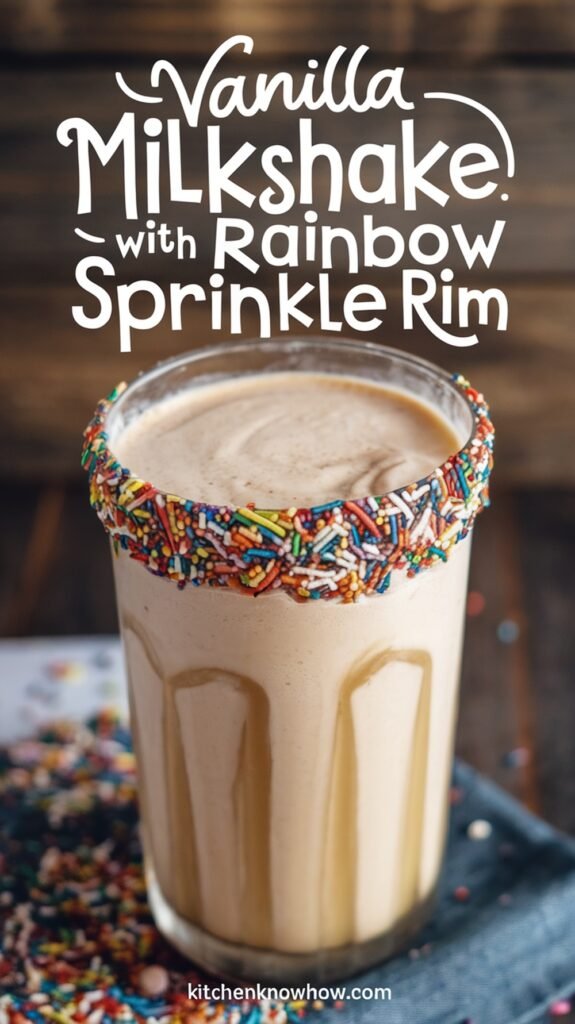
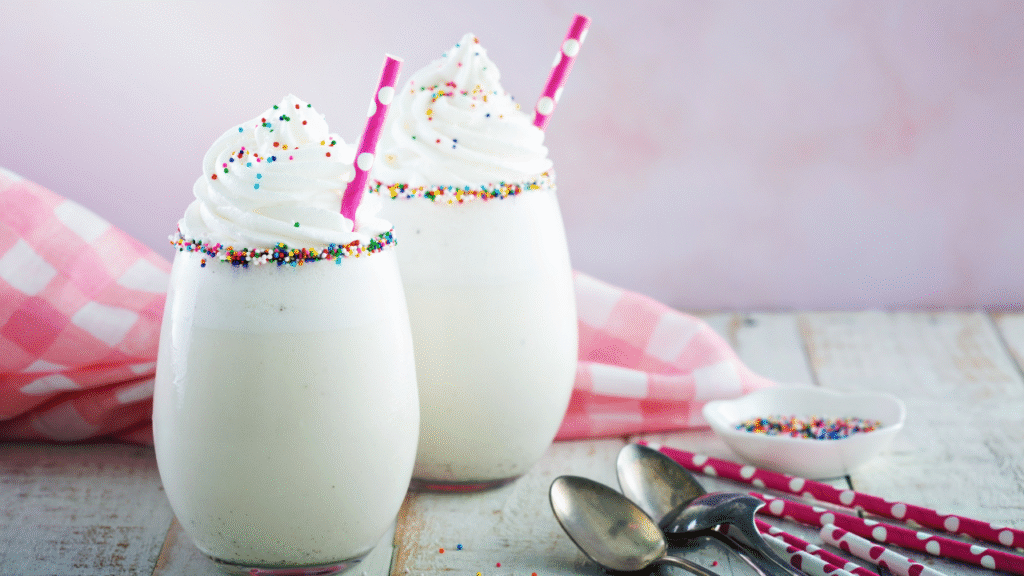
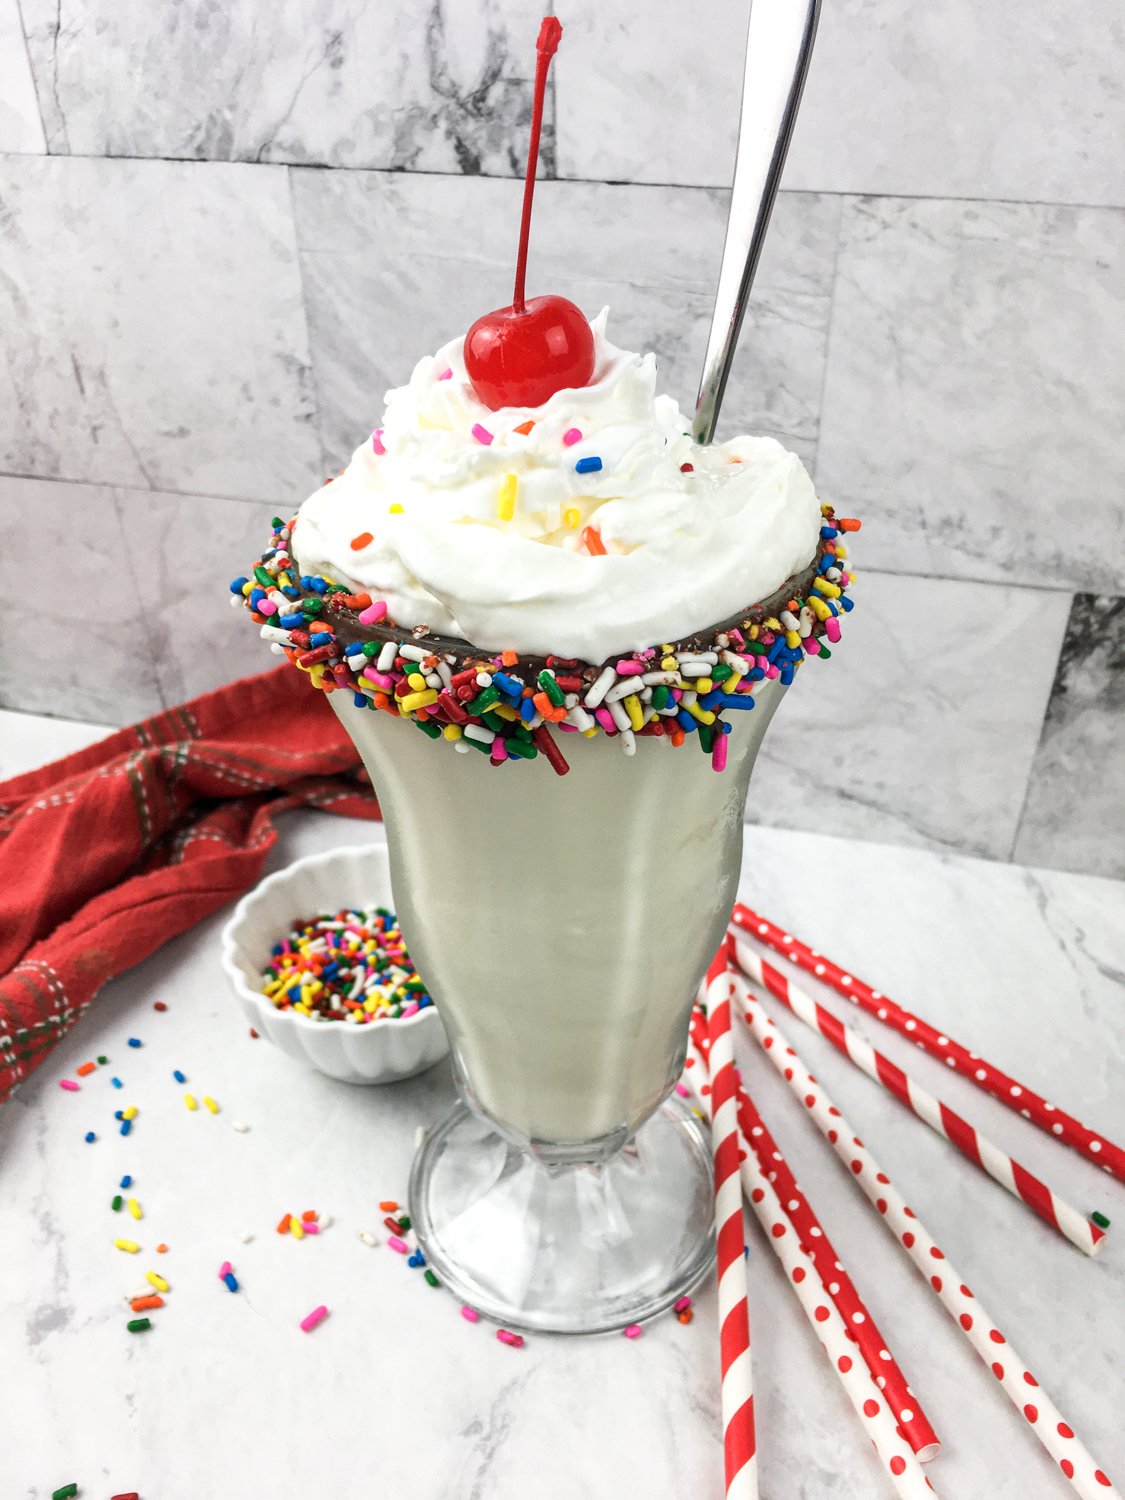
Few things are as satisfying as sipping a thick, cold vanilla milkshake on a warm day. Whether you’re reminiscing about childhood visits to the ice cream shop or simply craving something sweet and nostalgic, this recipe has all the makings of a classic treat—with a fun and colorful twist.
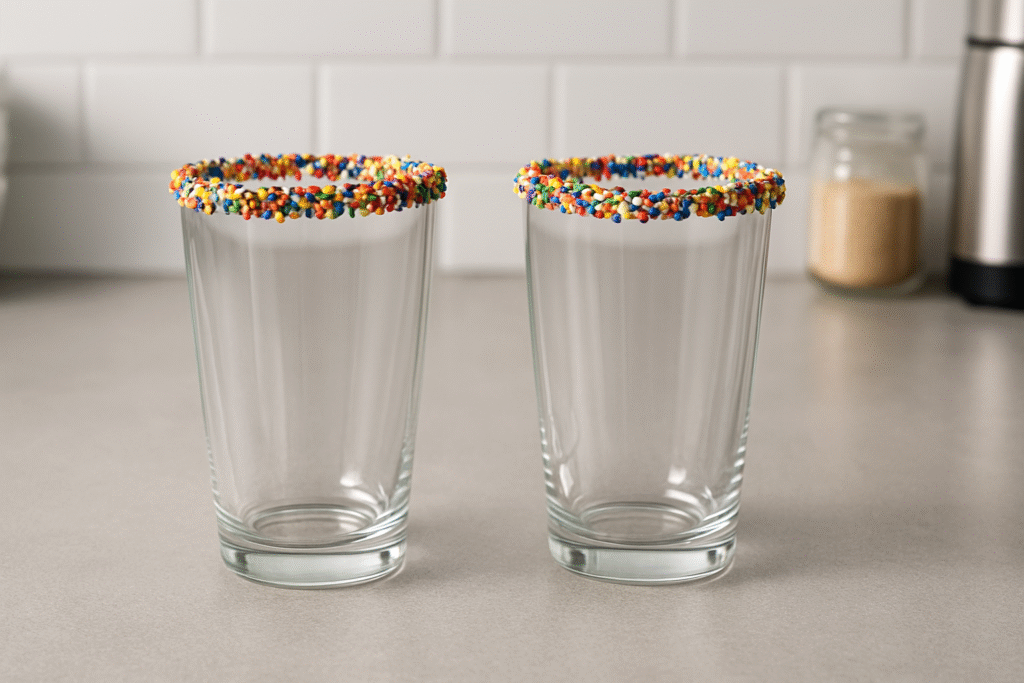
Dipping the rims of your glasses in melted chocolate and sprinkles turns an everyday dessert into a celebration.
Milkshakes have a magical way of transporting us to simpler times—carefree summer afternoons, spontaneous dessert runs, and playful kitchen experiments. With this step-by-step guide, you’ll learn how to recreate that experience right at home. It’s a delicious blend of indulgence and creativity, perfect for all ages and occasions.
💖 What Makes This Vanilla Milkshake So Irresistible?
Milkshakes are more than just drinks—they’re comfort in a glass. And when you make them at home, you control everything from the ingredients to the garnish. This recipe makes it easy for beginners to create something that feels gourmet while offering enough room for experienced cooks to add their flair.
Here’s why it stands out:
- Quick and easy to make with no cooking required
- Customizable for dietary needs or flavor preferences
- Kid-friendly and party-ready with sprinkle-coated glass rims
- Perfect texture thanks to real ice cream and whole milk
With endless topping and presentation options, this shake can be tailored to fit any celebration—or simply your craving.
🛒 Essential Ingredients for the Creamiest Vanilla Milkshake


Every great milkshake begins with quality ingredients. In this section, we’ll cover what you need to make this treat from scratch and provide guidance on selecting the best ingredients. Whether you’re using classic components or exploring substitutions, this list will help you plan ahead.
Main Ingredients:
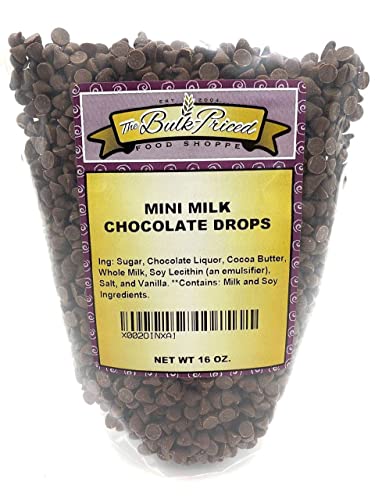
- Mini chocolate chips – Melt easily and coat the glass evenly. Full-size chips or melting wafers can also be used.
- Rainbow sprinkles – Add color and crunch; chocolate jimmies, chopped nuts, or toasted coconut are great alternatives.
- Vanilla extract – Brings depth to the flavor; choose pure extract for best results.
- Vanilla ice cream – The heart of the shake. Use your favorite brand or opt for dairy-free options, such as those made from coconut or almond.
- Whole milk – Ensures a rich, creamy blend. Substitute with oat, soy, or almond milk if needed.
For Garnish:
- Maraschino cherries – A classic finishing touch.
- Rainbow sprinkles – Additional sprinkles bring the fun to the top.
- Whipped cream – Adds that fluffy, indulgent finish.
Pro Tip: Chill your glasses before pouring for an even colder milkshake experience.
🧰 Simple Tools That Make Milkshake Magic Happen


You don’t need fancy equipment to make a delicious milkshake. However, having a few essential kitchen items on hand can enhance your experience and elevate the final presentation. Here’s what you need to whip up this dessert with confidence.
Essential Tools (Alphabetical Order):
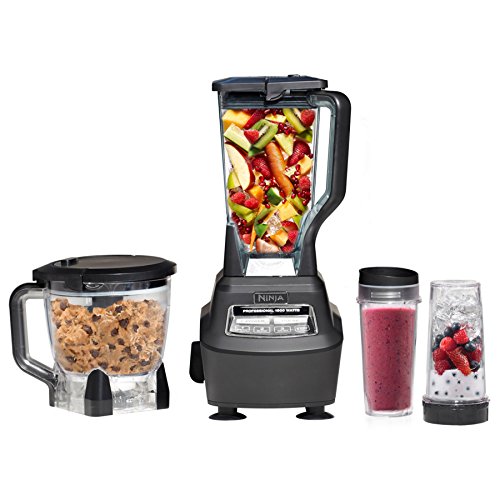
- Blender – For creating a smooth, creamy milkshake. A hand blender or food processor can be used as a substitute in a pinch.
- Microwave – Used to melt the chocolate chips gently. Alternatively, use a double boiler on the stovetop.
- Ramekin – Helps reduce the volume of chocolate needed when melting. If unavailable, use a standard bowl.
- Serving glasses – Use milkshake or sundae glasses for the best presentation.
- Shallow bowl and plate – Ideal for coating the rims with chocolate and sprinkles.
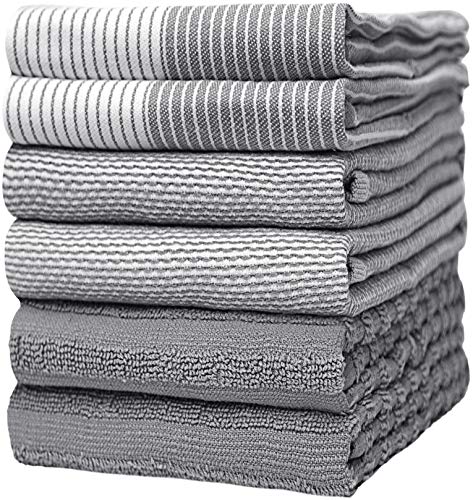
Chef’s Tip: Keep kitchen towels handy to quickly clean up chocolate drips and maintain a tidy setup.
🧑🍳 Step-by-Step: Craft the Perfect Vanilla Milkshake at Home
Now that you’ve gathered your ingredients and tools, it’s time to bring this creamy classic to life. These steps guide you through the process from start to finish, providing clear instructions and helpful tips to ensure success every time.
Step-by-Step Instructions:
1) Prepare the Sprinkle Rim (5 minutes)
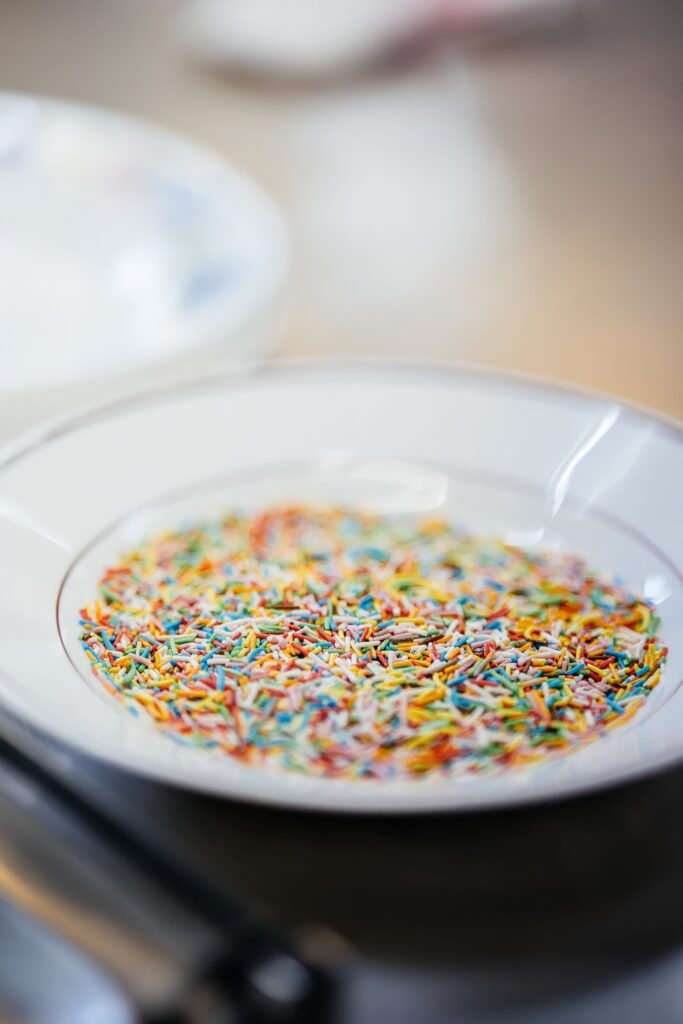
- Pour sprinkles onto a shallow plate.
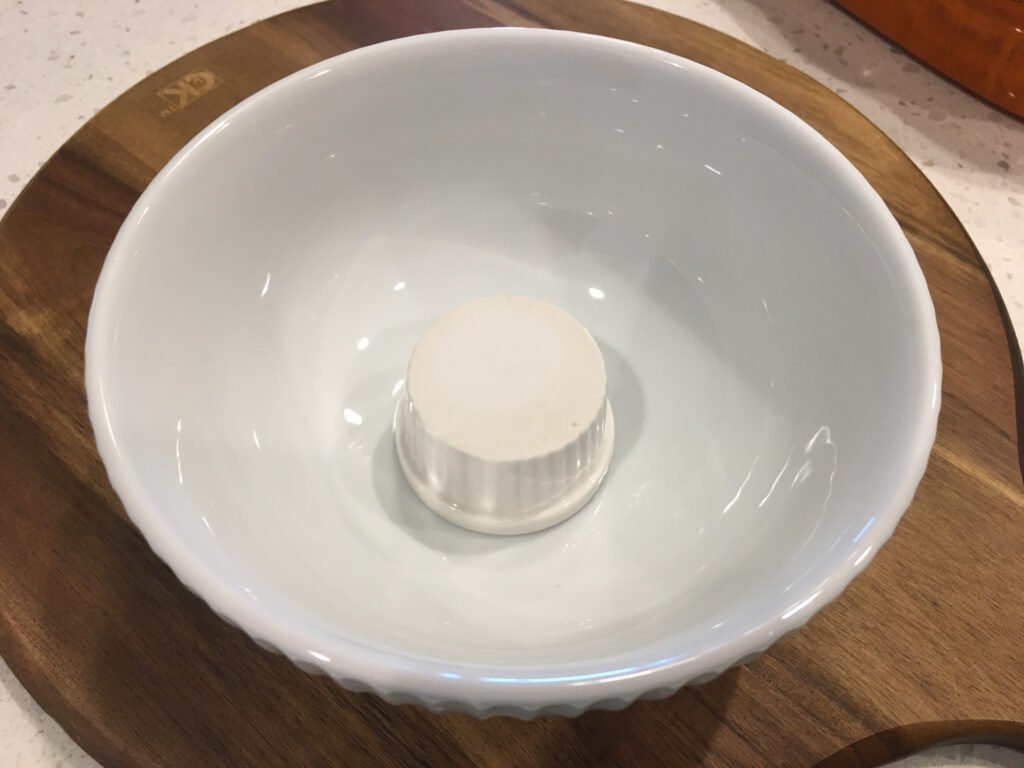
- Place a ramekin upside down in a wide bowl.
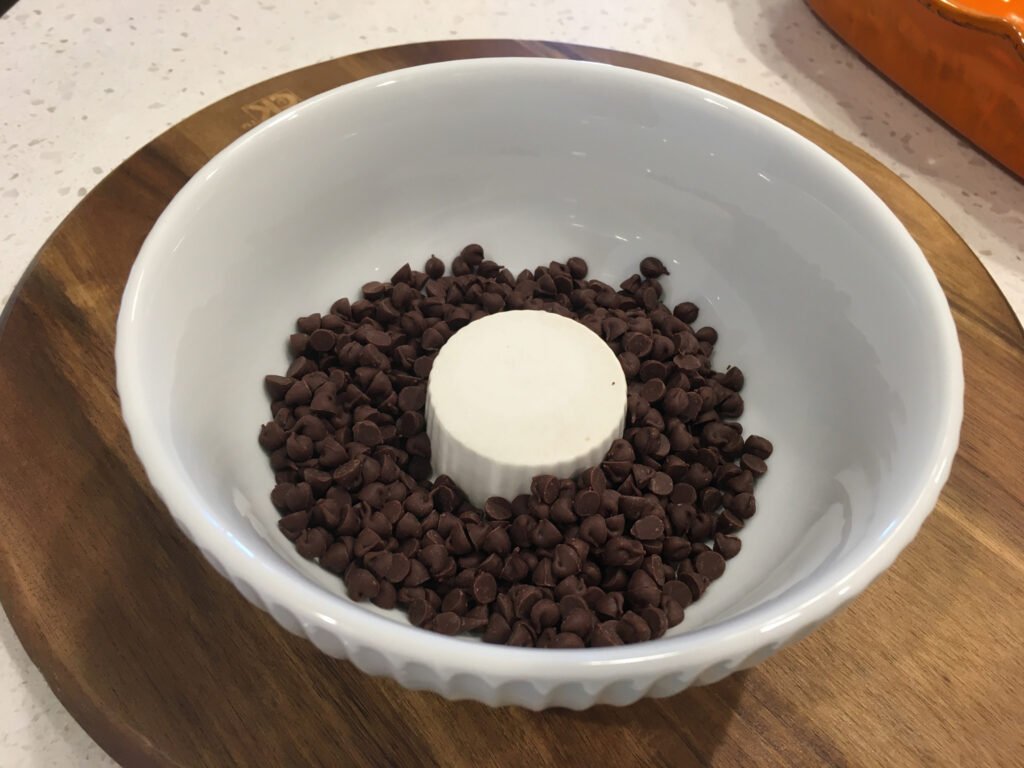
- Surround it with mini chocolate chips.
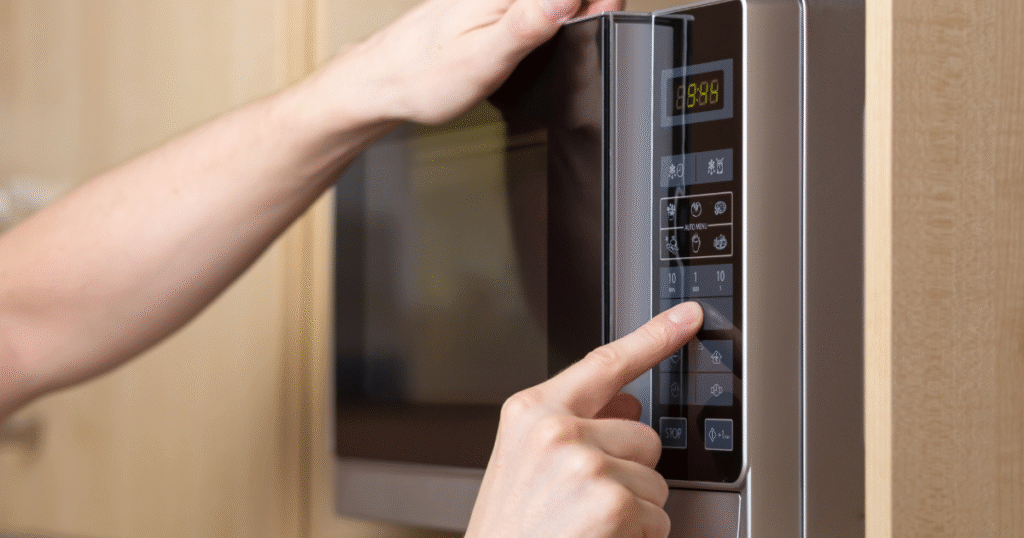
2) Melt the chocolate (2-3 minutes)
- Microwave at 50% power until melted, checking after 90 seconds.
- Stir with a fork to break up any remaining chunks.
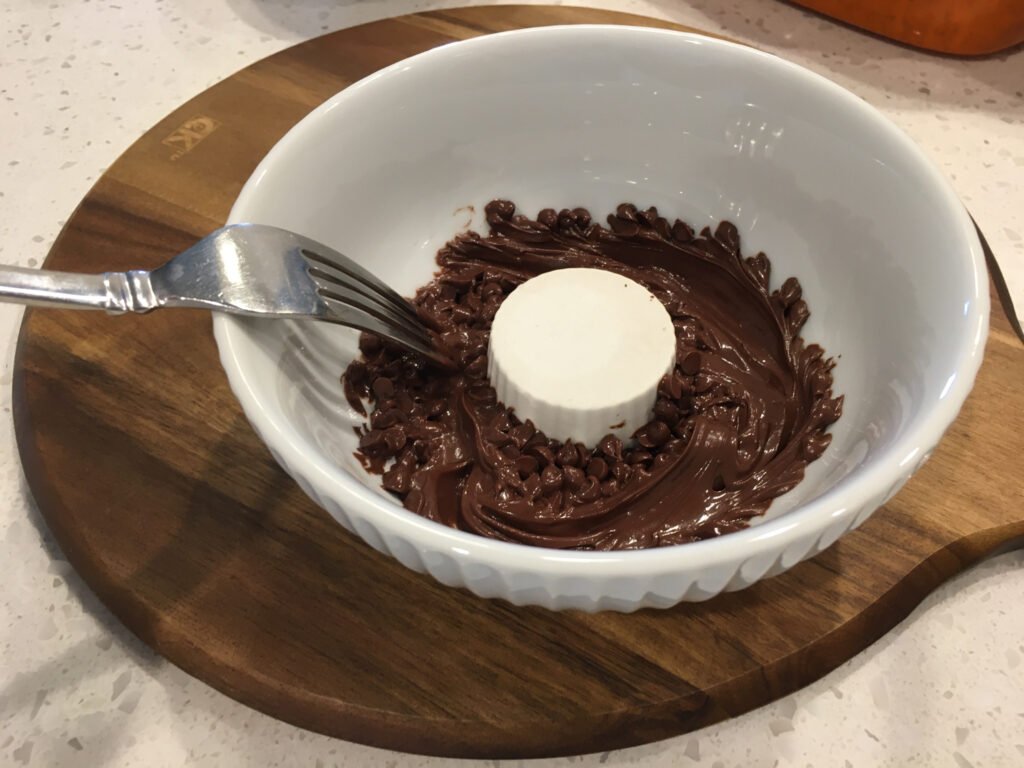
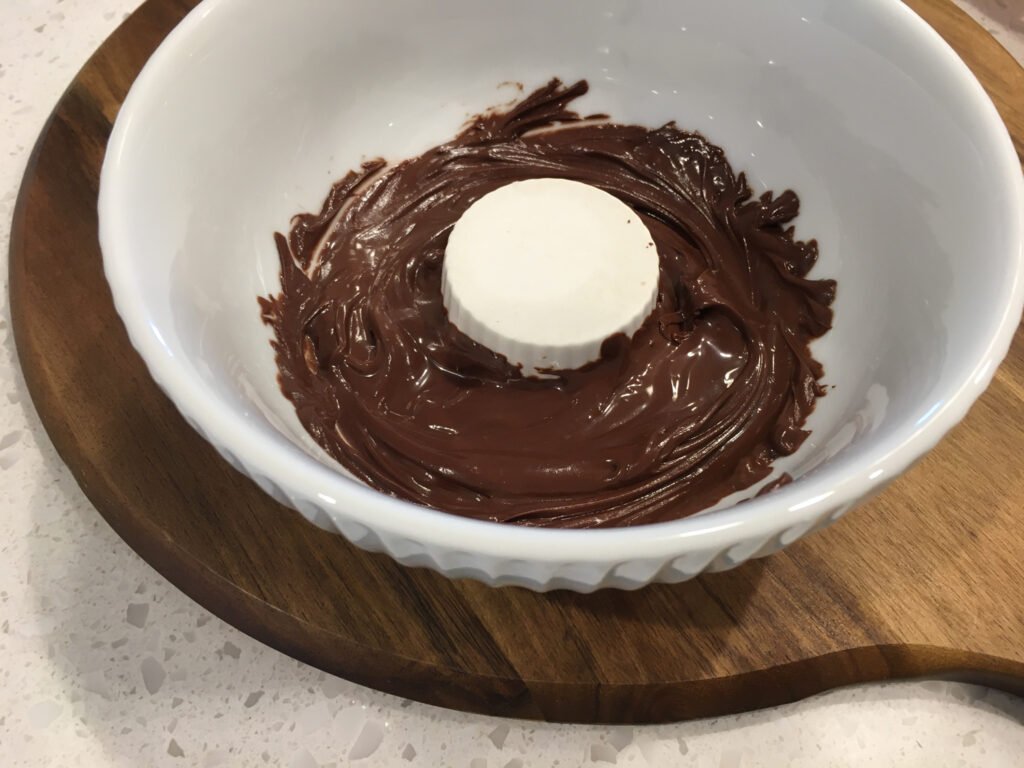
Pro Tip: Melt the chocolate slowly to prevent scorching.
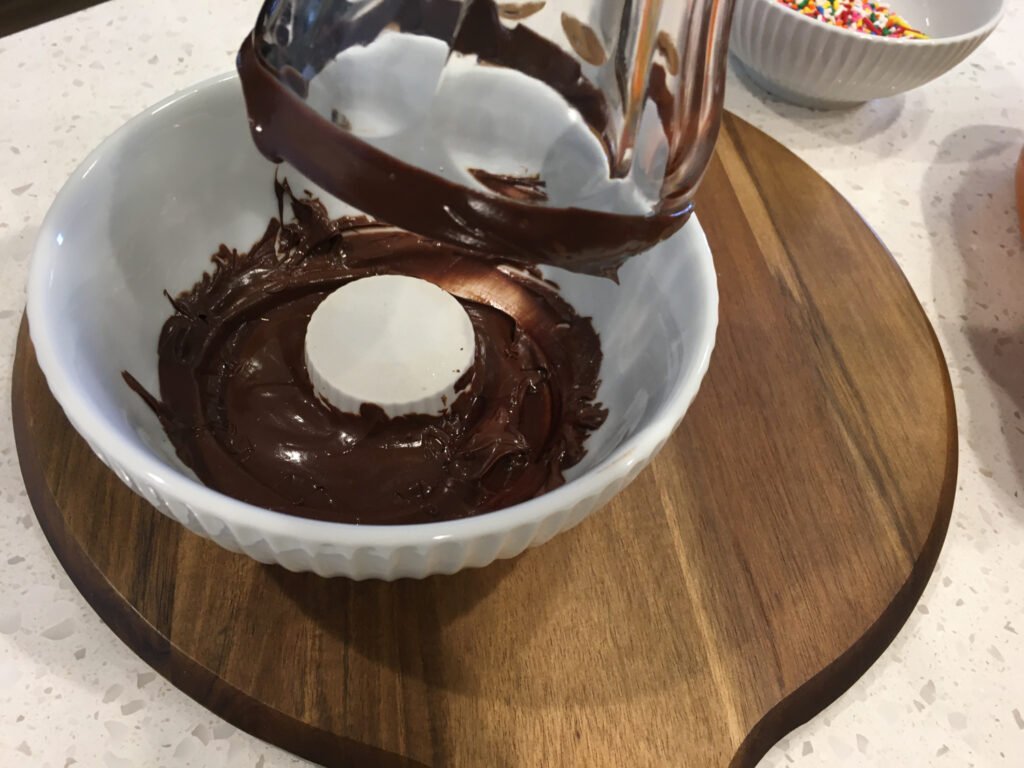
3) Dip the Glasses (2 minutes)
- Dip each glass rim into the melted chocolate.
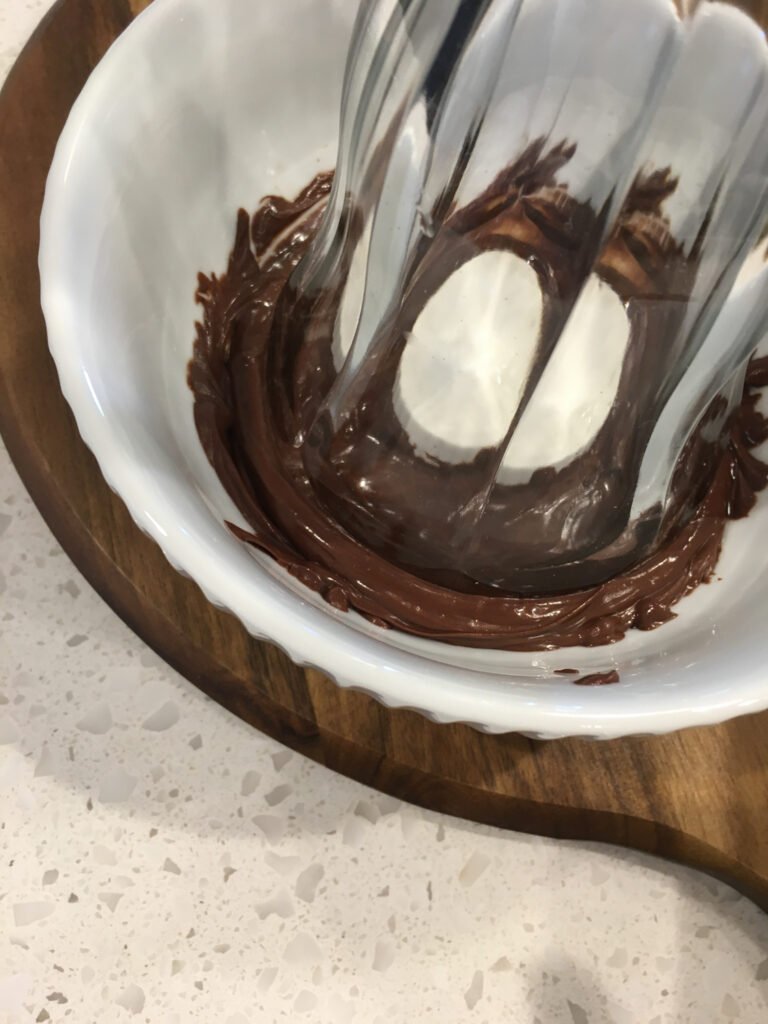
- Immediately roll in the rainbow sprinkles until coated.
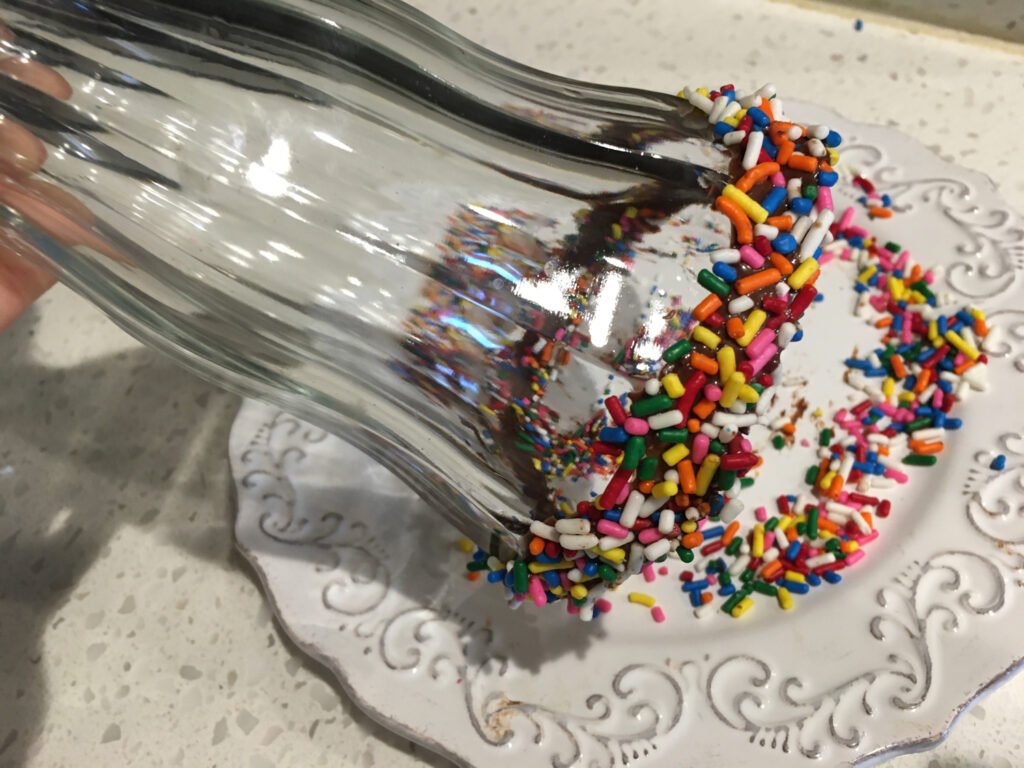
- Turn upright and let dry.
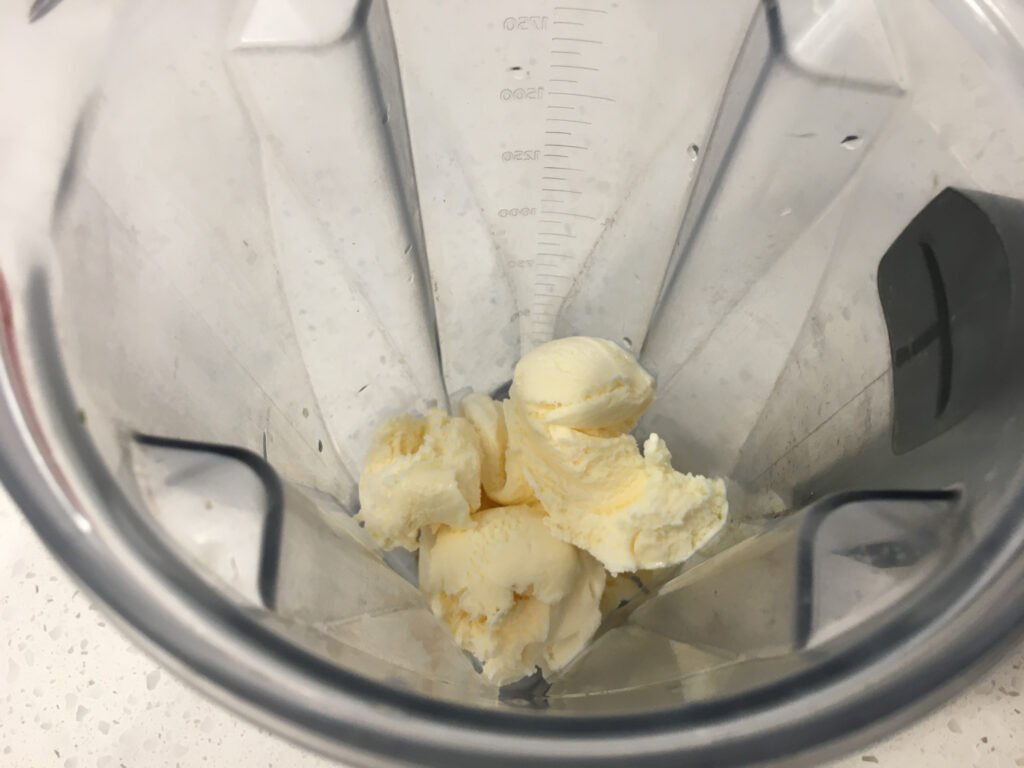
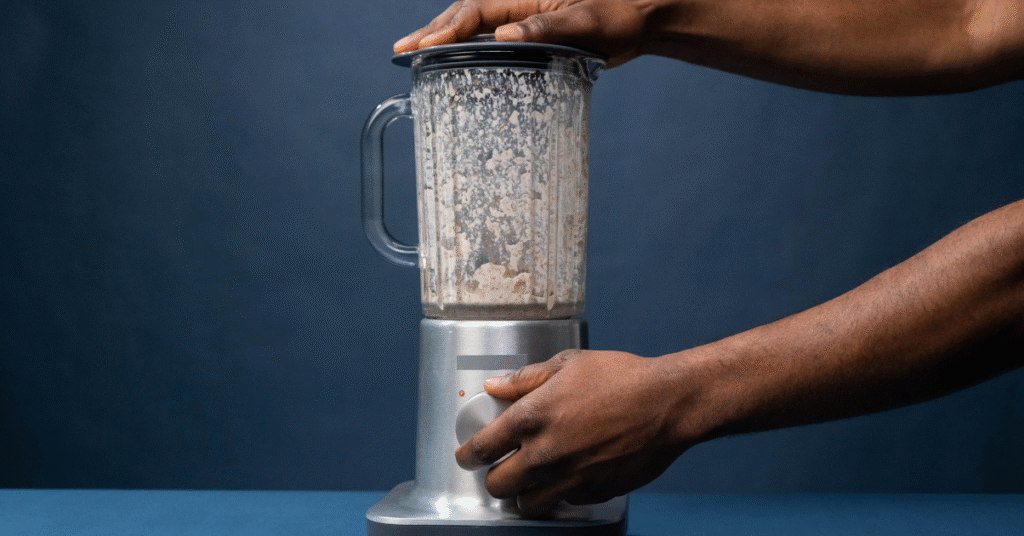
4) Blend the milkshake (2 minutes)
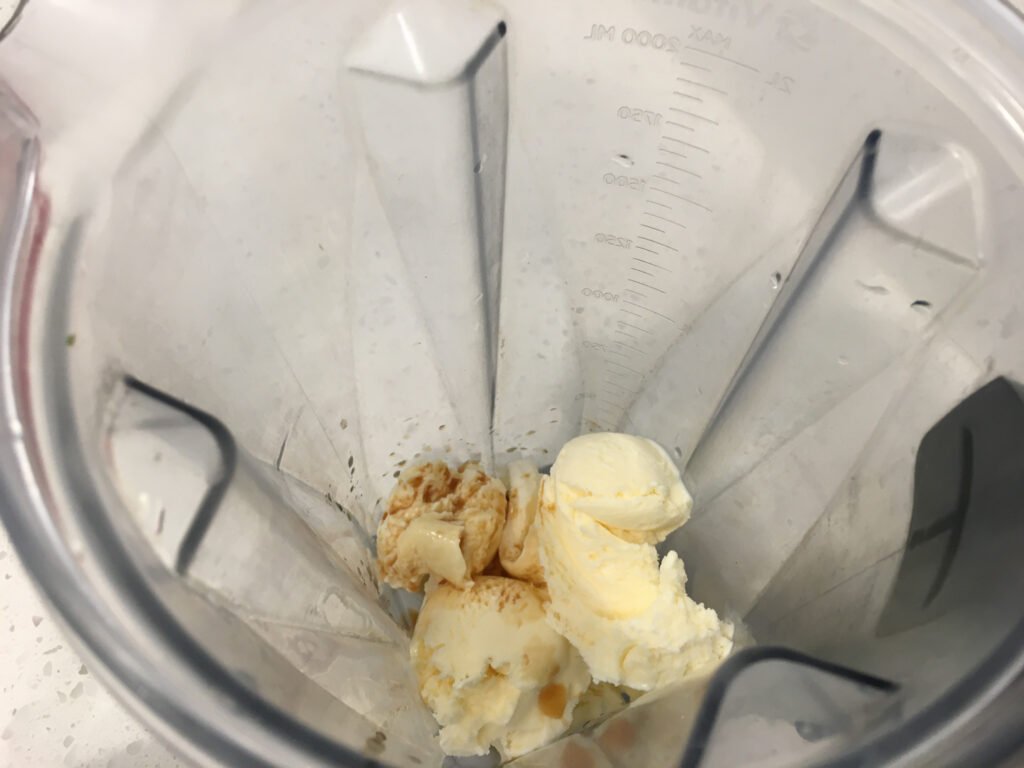
- To a blender, add the ice cream.
- Add the vanilla extract.
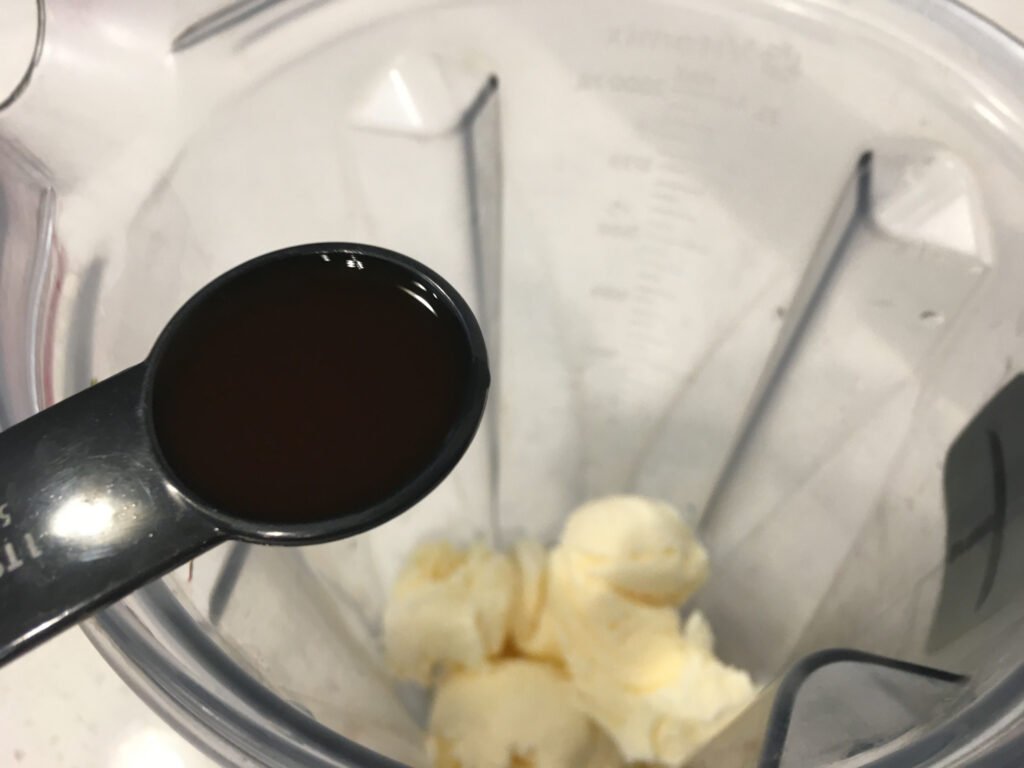
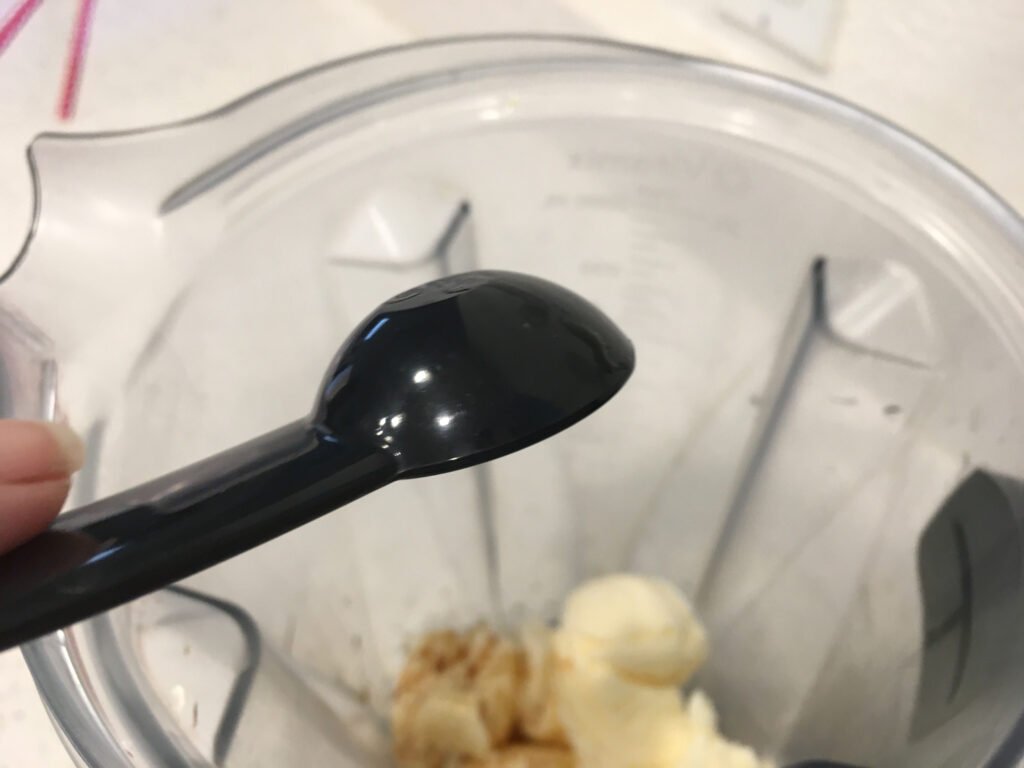
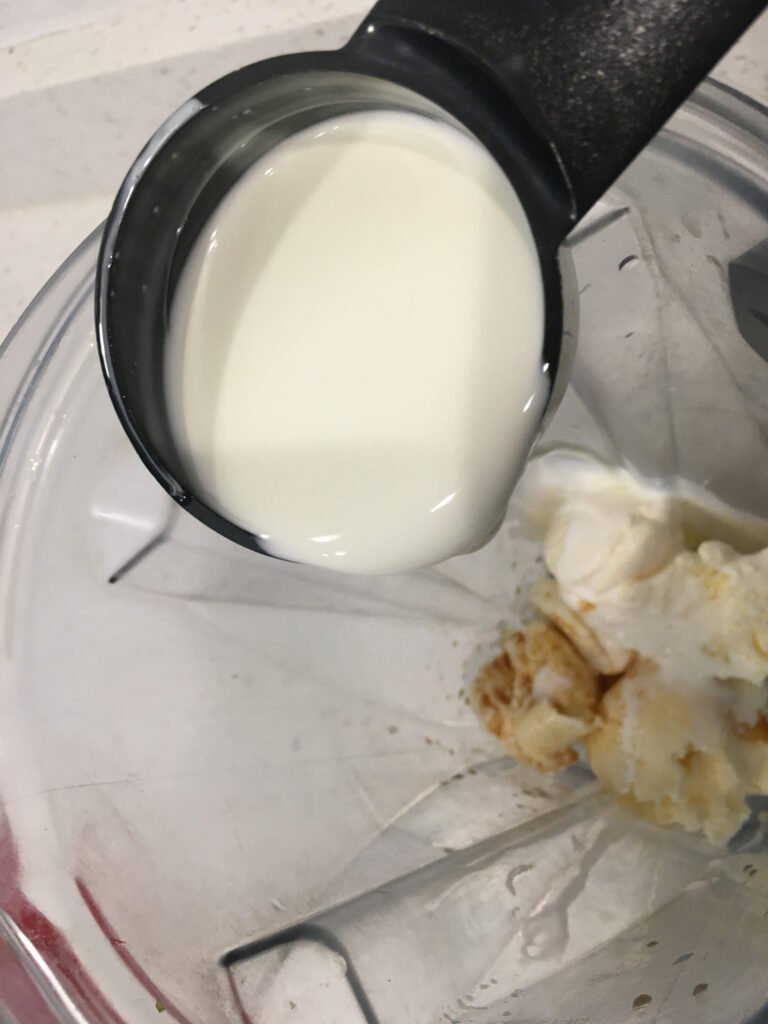
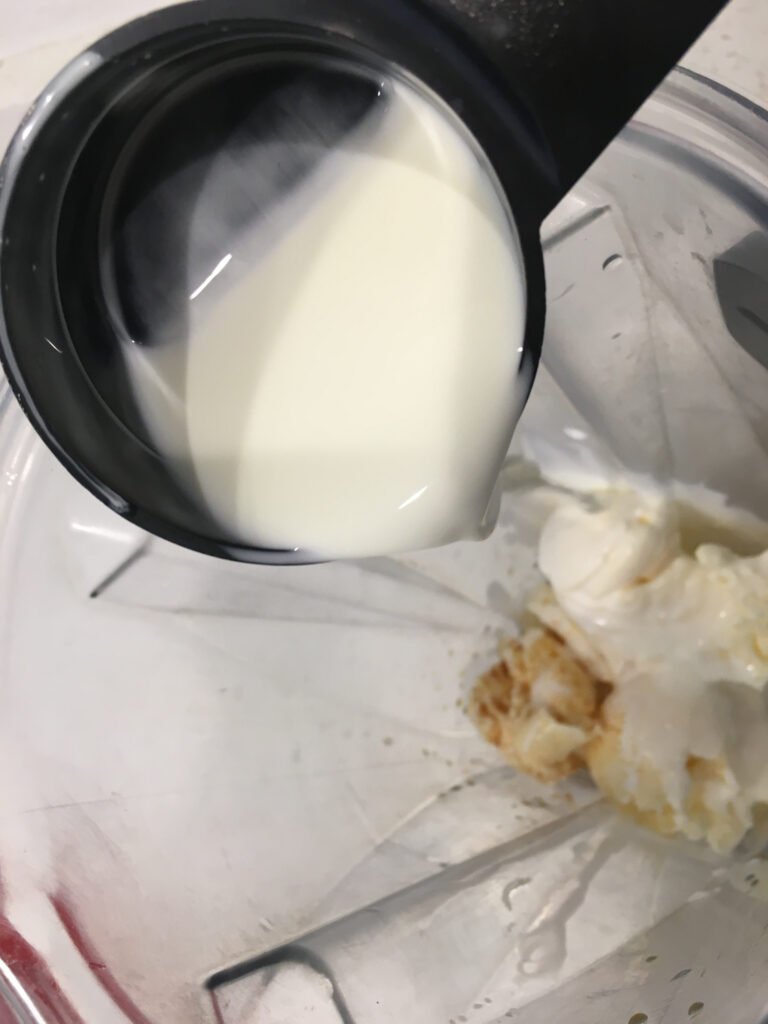
- Then pour in the milk.
- Blend until smooth and creamy. Adjust with additional milk to achieve the desired thickness.
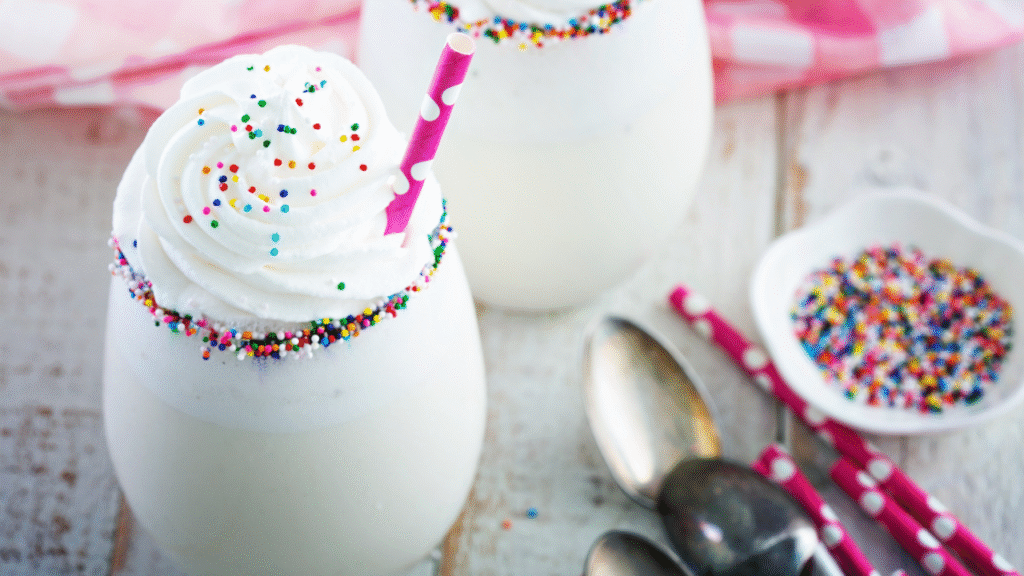
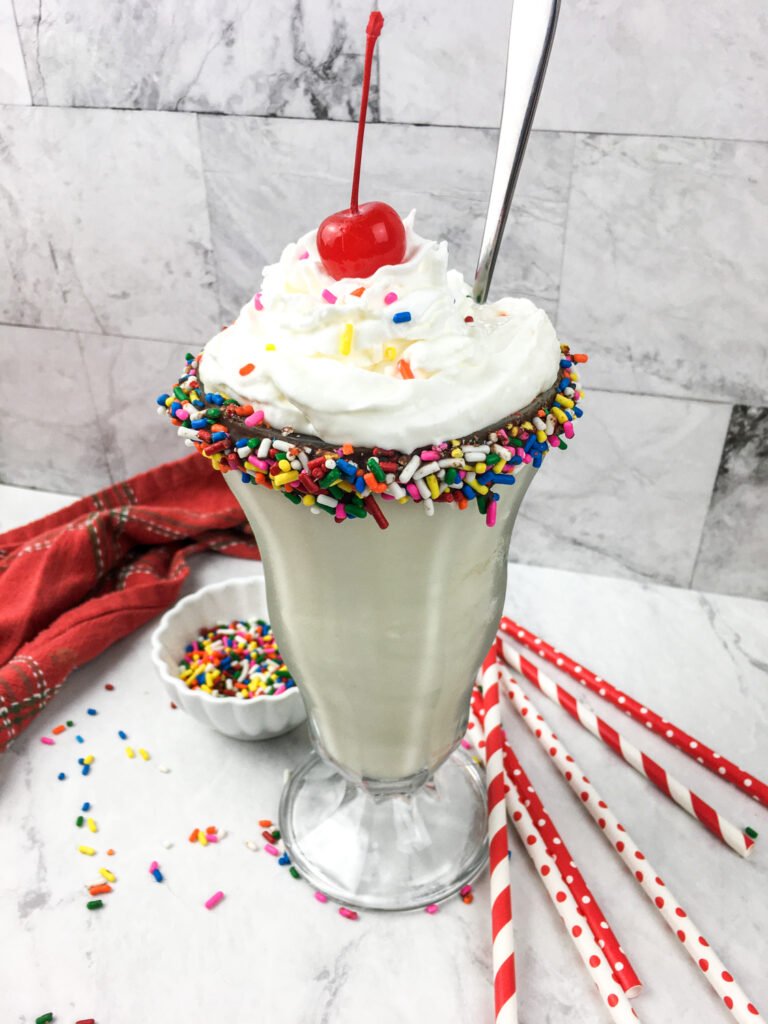
5) Assemble and Serve (1 minute)
- Pour the milkshake into decorated glasses.

- Top with whipped cream, extra sprinkles, and a maraschino cherry.
💡 Pro Tips to Take Your Milkshake to the Next Level
A few clever techniques can elevate your milkshake from good to unforgettable. These practical tips ensure the best flavor, texture, and presentation—while providing you with the flexibility to adjust for your specific needs.
| Tip Type | Advice |
|---|---|
| Make-Ahead | Scoop your ice cream into cups and freeze for fast use. |
| Leftovers | Freeze for up to 1 day, re-blend with milk to refresh. |
| Presentation | Use chilled glasses for a frosty finish. |
| Dietary Substitutions | Use oat or almond milk and vegan ice cream. |
| Flavor Enhancements | Add a spoon of peanut butter, malt powder, or cookie crumbles. |
🎨 Make It Yours: Easy Variations & Dairy-Free Swaps

Personalizing your milkshake is half the fun. Whether you’re switching up the flavor or enhancing the presentation, these ideas will spark your creativity and help you make it your own.
Flavor Variations:
- Berry Burst: Add strawberries or raspberries.
- Mocha Magic: Swirl in chocolate syrup and espresso.
- Cookie Crumble: Mix in chocolate cookies or graham cracker bits.
Presentation Tips:
| Theme | Garnish Idea | Glass Style |
|---|---|---|
| Birthday Bash | Edible glitter + sprinkles | Colorful mason jar |
| Retro Classic | Paper straw + cherry | Tall soda glass |
| Tropical Vibes | Toasted coconut flakes | Pineapple cup |
Pairing Ideas:
| Food | Perfect With Milkshake |
|---|---|
| Cheeseburgers | Classic diner combo |
| French fries | Sweet and salty balance |
| Brownies | Ultimate dessert duo |
📘 Sweet Wrap-Up: Why This Milkshake Belongs in Your Recipe Book
This homemade vanilla milkshake is more than just a recipe—it’s an experience. It’s about reliving memories, sharing joy, and indulging in a treat that never goes out of style. Whether you’re celebrating or just satisfying a sweet tooth, this milkshake delivers comfort with a creative twist.
I’m looking forward to seeing your version! If you try this recipe, leave a comment below, rate it, and don’t forget to share your milkshake photos.
👉 Tag your creations with #KitchenKnowHowHub and follow us on Instagram, Pinterest, and YouTube for more delicious inspiration.
Looking for more delicious recipes? Check out our Recipe Index page and continue your flavor exploration!
Happy Cooking,
❓ FAQs: Your Milkshake Questions, Answered!
Listen in!
This episode isn’t just about a vanilla milkshake recipe—it’s about how a few thoughtful touches can turn an everyday dessert into a memorable experience!
How do I make this vanilla milkshake dairy-free?
To make a dairy-free version, use your favorite non-dairy ice cream—such as coconut or almond-based—and pair it with plant-based milk, like oat, soy, or almond. You’ll still get a deliciously creamy texture with zero compromise on taste.
Can I prep the milkshake ahead of time?
Yes, you can! Pre-scoop your ice cream into individual cups or containers and freeze until needed. When you’re ready, add it to the blender with your other ingredients for an instant milkshake.
How do I store leftovers?
If you have a leftover milkshake, transfer it to an airtight container and store it in the freezer for up to 24 hours. Before serving again, let it soften slightly and blend with a splash of milk to revive its creamy consistency.
Can I use chocolate syrup instead of chips for the rim?
Absolutely. Chocolate syrup or even corn syrup can be used to adhere the sprinkles to the glass rims. It’s a great shortcut if you’re short on time or prefer a simpler cleanup.
What if I don’t have a blender?
No blender? No problem. You can use a food processor, immersion blender, or even mix by hand with a whisk—it just requires a bit more effort and yields a softer ice cream.
How can I thicken the milkshake?
For a thicker shake, reduce the amount of milk and increase the amount of ice cream. Using chilled glasses also helps keep the shake thick and cold longer.
Can I skip the vanilla extract?
While vanilla extract adds depth, you can skip it in a pinch or replace it with a splash of maple syrup or even a flavored syrup of your choice.
What are good sugar-free alternatives?
Opt for sugar-free ice cream and use unsweetened almond or coconut milk. You can also skip the sprinkles or use sugar-free candy decorations.
Is melting chocolate in the microwave a safe method?
Yes, as long as it’s done carefully. Use 50% power and short intervals—stir every 30 seconds to prevent burning and ensure a smooth melting process.
🥤 Homemade Vanilla Milkshake Recipe
Ingredients
Equipment
Method
- Pour rainbow sprinkles onto a shallow plate.
- In a small bowl wide enough to fit the top of your serving glasses, place a small ramekin upside down in the center.
- Pour mini chocolate chips around the ramekin. (If you're not using a ramekin, add about ½ cup chocolate chips directly into the bowl instead.)
- Microwave on 50% power for 2–3 minutes, checking after 90 seconds.
- Heat just until the chips are melted.
- Carefully stir the melted chocolate with a fork to smooth it out.
- Dip the rim of each glass into the chocolate, then immediately roll the edge in the rainbow sprinkles.
- Rotate the glass for an even coat.
- Turn upright and set aside to dry.
- To a blender, add the ice cream, vanilla extract, and milk.
- Blend until smooth and creamy.
- Add a splash more milk if you'd like a thinner consistency.
- Pour the milkshake into your decorated glasses.
- Top with whipped cream, extra sprinkles, and a maraschino cherry.
- Serve and enjoy!

Video
Notes
🙌 Now it’s your turn!
Blend up some joy with this vanilla milkshake recipe, and let your creativity shine. Don’t forget to comment, rate, and share your experience.
Happy blending and happy sipping!